Saturday, February 22, 2014

Dash panel patching continued

On to grinding and bit more patching.
Blue tape is gone.  It's starting to look right.
Note that only a few holes remain.
Grinding those panels back down took some time.  I'm not terribly interested in grinding them to perfection.  I'll be putting some bondo on shortly.

Once I completed the grinding, I switched over to a flap disc to sand off the paint and smooth out the grinding marks.  It's really starting to look good, and I'm getting energized by the progress.
A wide shot.

Friday, February 21, 2014

Pedals mock-up and dash patching

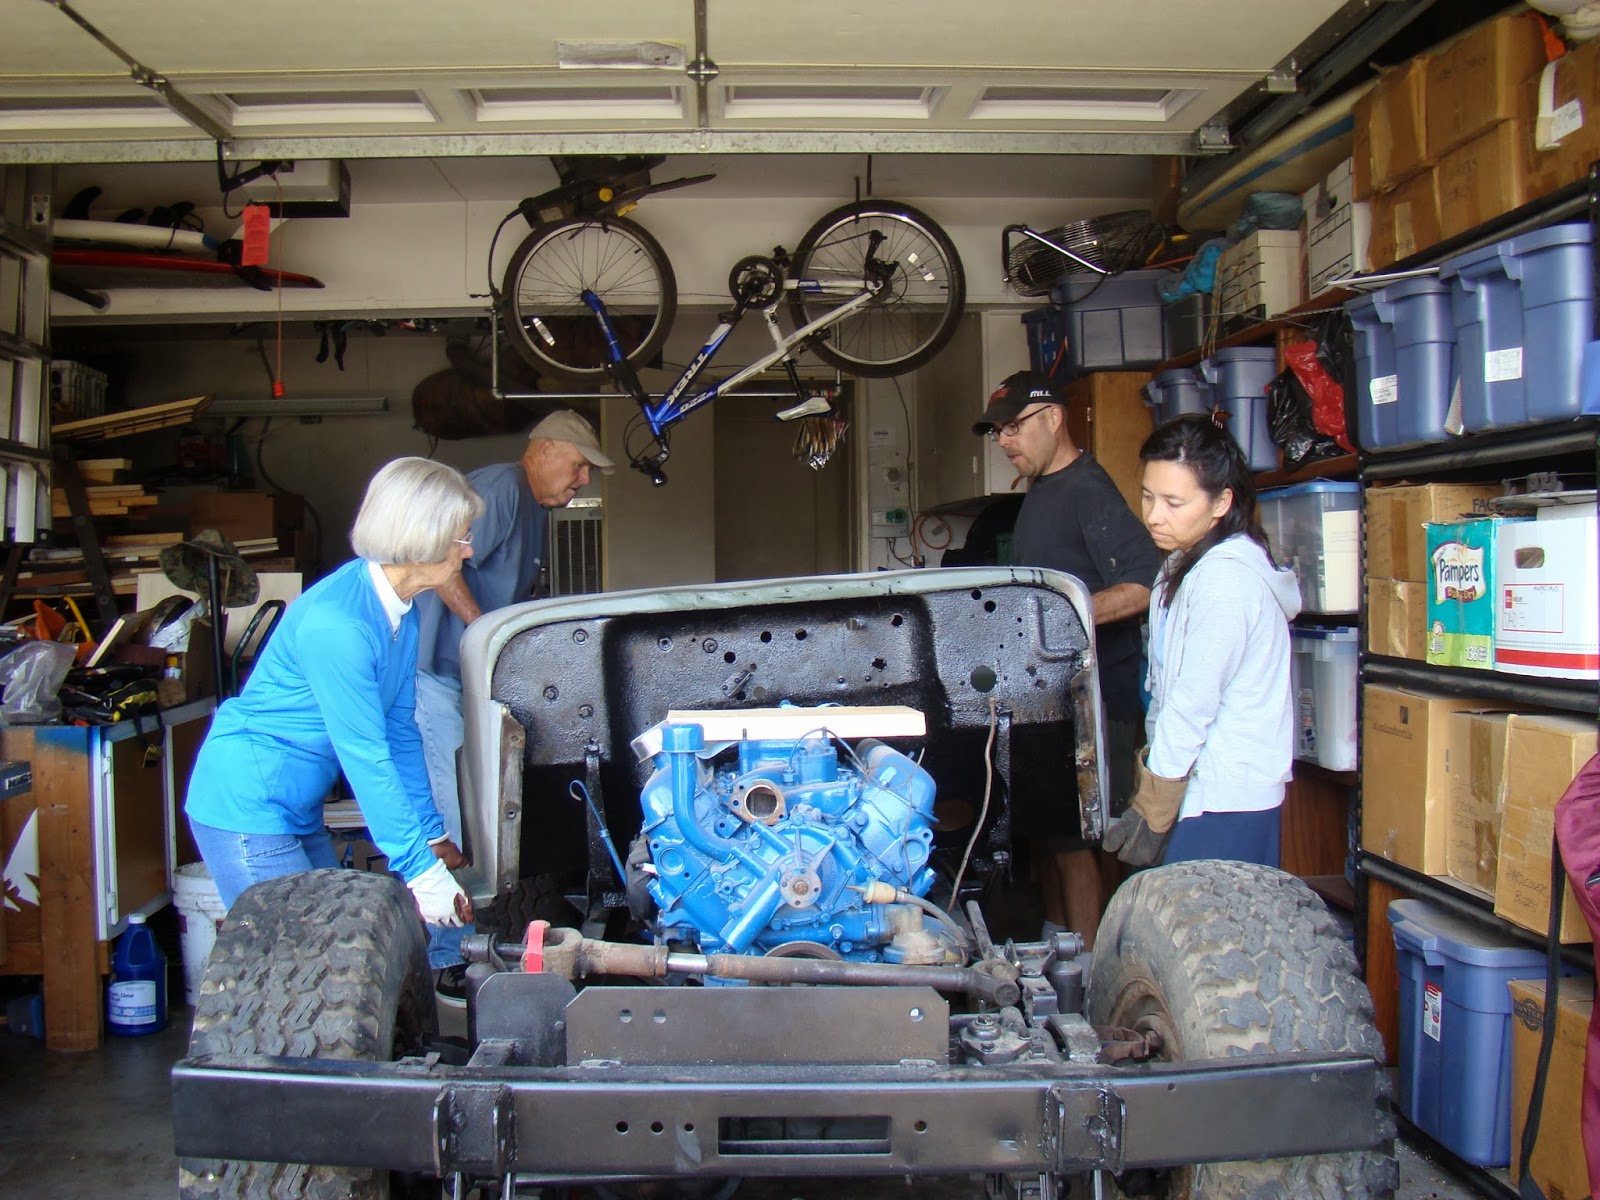
Now that the tub is on the chassis and in the garage, real mock-up can begin, with me focusing my efforts on finalizing the tub (being indoors makes that easier) and thinking about the mechanicals, such as pedals.

I'd done a bit of research and wanted to keep the Jeep as hybrid between Willys and Ford, much like the first Jeeps in World War Two were.  Having the Ford V8 helped justify my continued effort to do so since it will be easiest (I think) to hook up Ford parts to Ford parts.

On the left is a brake/clutch pedal assembly from an early Ford Bronco.  I'd look at F100s from the 50s initially, but these finally caught my eye on ebay.  My thinking as simple: I needed an assembly that would be compatible with the 260 and would fit in the Willys' cowl.  The pedal on the right is an accelerator pedal from a '66-'67 Ford Fairlane.
The bracket here was ugly and not connected to what I think was a stock gas pedal screwed to the floor.
Gone.
The linkage.  I'll keep it for now, but I can't imagine what I'll be using it for.
That support bracket that connects the dash to the firewall is going to work well for me.  I'll bolt the accelerator pedal to it at some point (no welding so that once I've driven the rig I can determine what kind of travel adjustment I need to make).
Looks about right.  Maybe a little toward the rear of the vehicle.
I was able to slip the clutch pedal assembly up inside.  It's a close fit, perhaps an inch shy dash.  I'll weld on a few tabs to help secure it.
A better angle.
Good spacing overall.  I'm sure I'll be able to get to work.

The dash panel had a ridiculous amount of holes in it.  The original owner never met a drill bit he didn't like.  I found a few pics to help me identify which holes needed to stay.  Here are my preliminary set of holes to patch.
A close up to the driver's left side section.
The center section.
 Center right.  That's my first welded patch ever, hence the intense ugliness and wee bit of surface rust.
And the first right, showing my other patch panel from way back in August.

Beginning my patches.  Most of the holes were so large that I couldn't simply fill it with welding wire, so I cut little disc for each of them, held in place from behind with a welder's magnet.
These little holes (at their biggest the size of a pencil eraser) didn't need a disc, so I just welded a booger into them.
I haven't quite finished, so I'll do more tomorrow.


Monday, February 17, 2014

First real mock up

I wanted to try a little mock up today since I've owned this thing for six months and have yet to see it in even close to one piece.  (Obviously, I know what a CJ2A/3A combo looks like, but I wanted a shot of imagination motivation since I've still got a long haul to tow.)

I started with the engine bay.  That oil breather on the passenger side valve cover is going to an interference issue with my early Bronco air cleaner.
So my simple, possibly permanent solution was to pull both valve covers and swap them.  I'd never looked inside the engine before, so this was a nice sight.  Pretty clean, no obvious signs of water intrusion, and no sludge.
Here's the driver's side.
And now there's no oil breather passenger side.  You can see it peaking up behind the carb in the pic below.
Air cleaner test fit with the fenders and grill mocked up. Looks good.
And with the lid in place, I don't have to cut any silly holes in the hood to fit an air cleaner on top of the carb.
Obviously, the radiator isn't in yet.  That may still post a problem, where I may have to go with a slimline model so that the mechanical fan and the radiator don't meet up somewhere unpleasant, like on a trail.
I love it.

Sunday, February 16, 2014

The tub is on the chassis

The best way to start this entry is to say that it went very quickly, nobody got hurt, and the Willys wasn't damaged.

It'd been in the backyard under the swing set since last August, so my dad and I started by dragging it through the gate (on the left in the pic below), lifting and sliding in various combinations to get it this far.  (Normally this is where I park the Big Jeep.)
Then we eased it onto the driveway and laid it down on two 2"x2"s to avoid finger pinches.
At this point, the rest of the crew (my 5'0" mother and my 5'0" wife) helped us lift it up from the four corners, raise it high enough to clear the V8, and set it on the body.
I had another pair of 2"x2"s laid across the chassis to make sure the tub didn't get scratched up and hung up.  That also helped me see rough what its ride height will be.
Job done.
Just for fun I added in the seats and gave the kids each a turn in the driver's seat.