Wherein I document my build-up and use of a Jeep CJ-X for off-roading with my family.
Saturday, August 22, 2015
Thursday, August 13, 2015
Monday, August 10, 2015
Monday, July 20, 2015
Thursday, July 16, 2015
Wednesday, July 15, 2015
Monday, June 8, 2015
Saturday, May 9, 2015
Sunday, March 15, 2015
Monday, February 16, 2015
Sunday, February 8, 2015
Headlights in
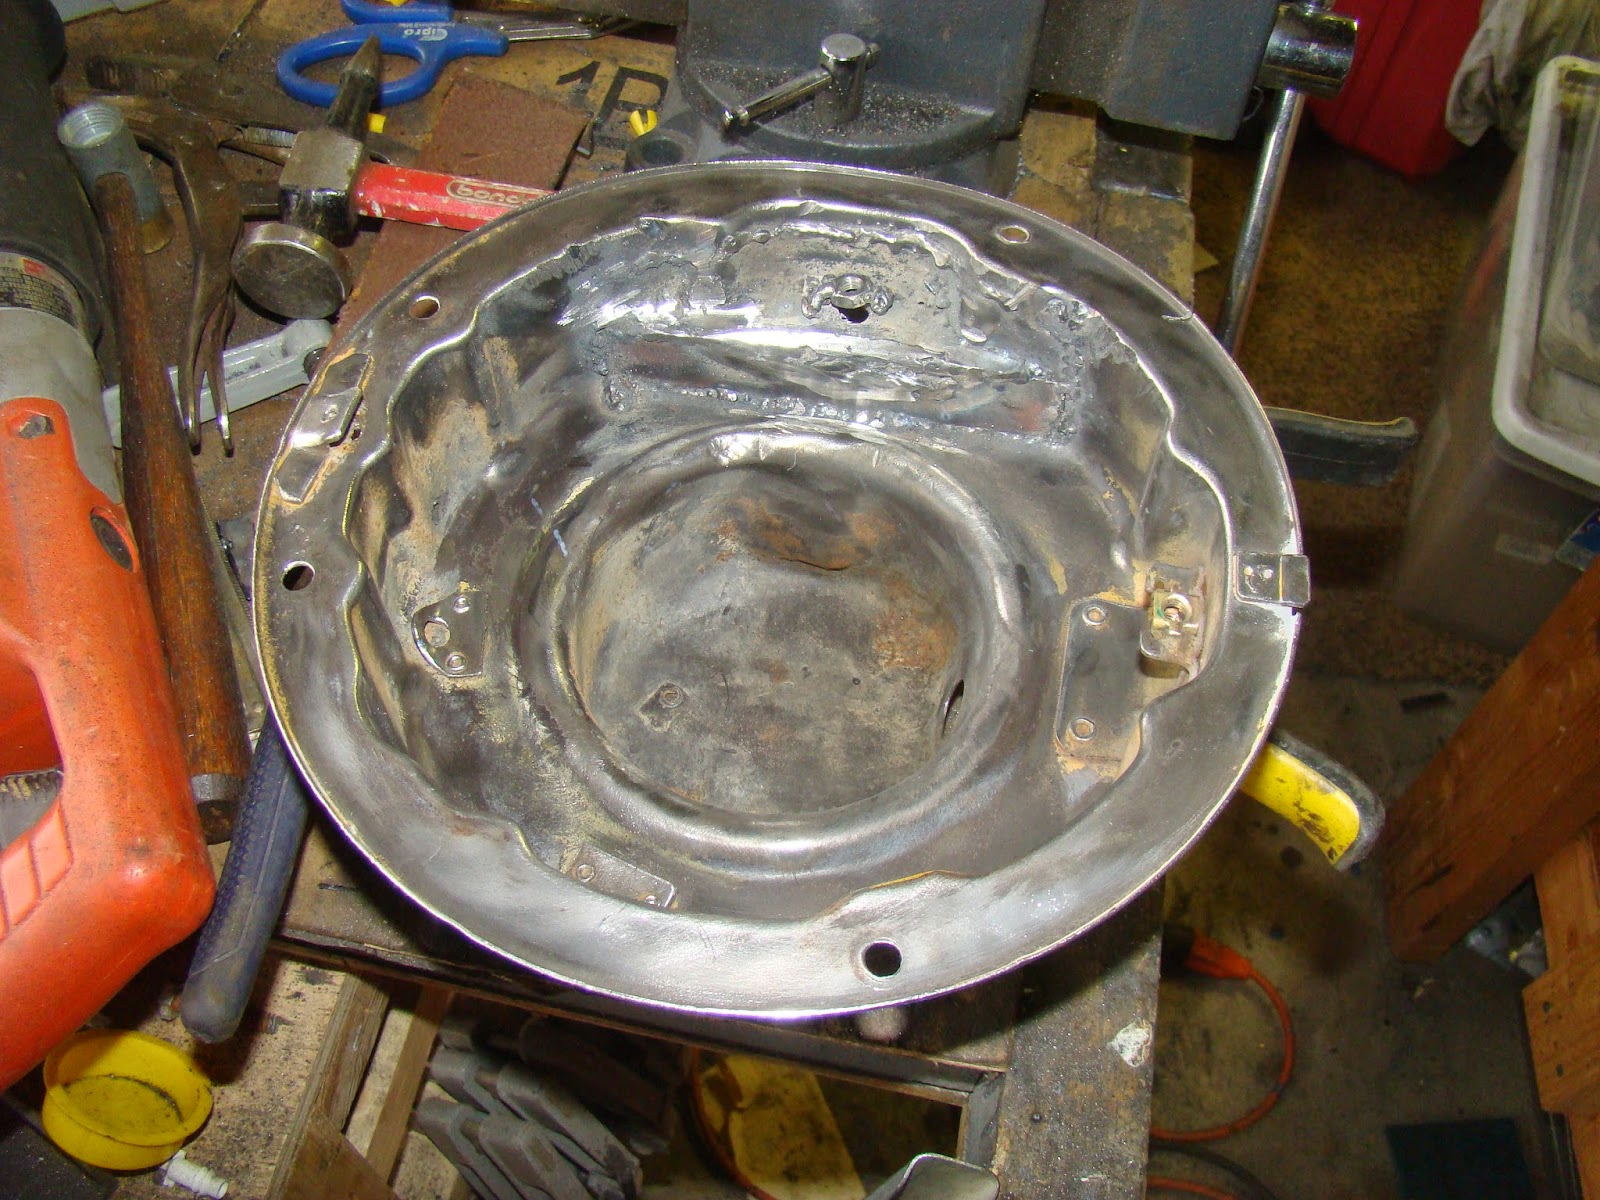
My project, as usual, came with four headlight buckets, all cut in some way to work around the radiator. I was determined to combine them to make sealed up buckets that are notched, rather than hacked, to fit in the grill.
These are the two (blown apart) that I'm going to make better.Here's the gaping hole provided to me.
This is where the others were hacked. I'm going to remove the side of this one to patch the previous one.
Starting to booger weld the patch piece in.
You can see the notch that I need to leave in.
Trying to clean up the boogers.
Bucket #2.
For the parking lights, I needed to make the hole a little bigger because I wasn't going with stock CJ2A/3A parking lights. I want turn signals, so I'm using CJ5 dual filament lights.
Bigger hole cut with a jigsaw.
Mounted.
For the actually headlights, I needed new harness plugs. These are nifty little Dorman numbers, but the lead wires needed to be longer.
I painted the buckets black and then mounted it up. Getting the adjuster springs right was a pain. Not recommended.
Original chrome rings, slightly faded. I have a second pair that have a bit more rust pitting.
Saturday, January 31, 2015
Caliper swap
Front right caliper on the Dana 30 was sticking a bit, so I had to pull it, break the caliper apart, and replace the core. I've never done this, so it was a fun little project.
Here's why the caliper was in need of replacement. The piston is stuck slightly open. I'm sure I could rebuild it, but it's not worth my time given the rather cheap replacement cost.Mounting bracket installed. A wee bit tricky but interesting.
So clean.
Done.
Monday, January 19, 2015
Saturday, January 17, 2015
Fuel system finished
Mounting the gas was a pain, but hooking it up to the filler neck and engine was fairly easy.
This is fuel cell foam, which I'm using to dampen any sloshing back up the vent tube.Below is the filler tube. The larger vent tube slides over it.
It's a filler neck from a 90's Ford Ranger, modified of course. It fits fairly well, but I think it's being bent farther than it should.
The back side.
Again, I think the bend is too tight.
Wiring up the sending unit. I'm using a water-tight connector.
The return line from the fuel filter outlet nozzle. 1/4" line.
Heading back to the sending unit's return line inlet.I used a 5/16" hard line for the bulk of the distance from the tank to the fuel pump.
I tried where I could to use mounts that will help keep the lines in place and cinched up tight.
Success. No leaks.
Thursday, January 15, 2015
Thursday, January 8, 2015
Subscribe to:
Comments (Atom)


