Saturday, August 22, 2015
Thursday, August 13, 2015
Monday, August 10, 2015
Monday, July 20, 2015
Thursday, July 16, 2015
Wednesday, July 15, 2015
Monday, June 8, 2015
Saturday, May 9, 2015
Sunday, March 15, 2015
Monday, February 16, 2015
Sunday, February 8, 2015
Headlights in
My project, as usual, came with four headlight buckets, all cut in some way to work around the radiator. I was determined to combine them to make sealed up buckets that are notched, rather than hacked, to fit in the grill.


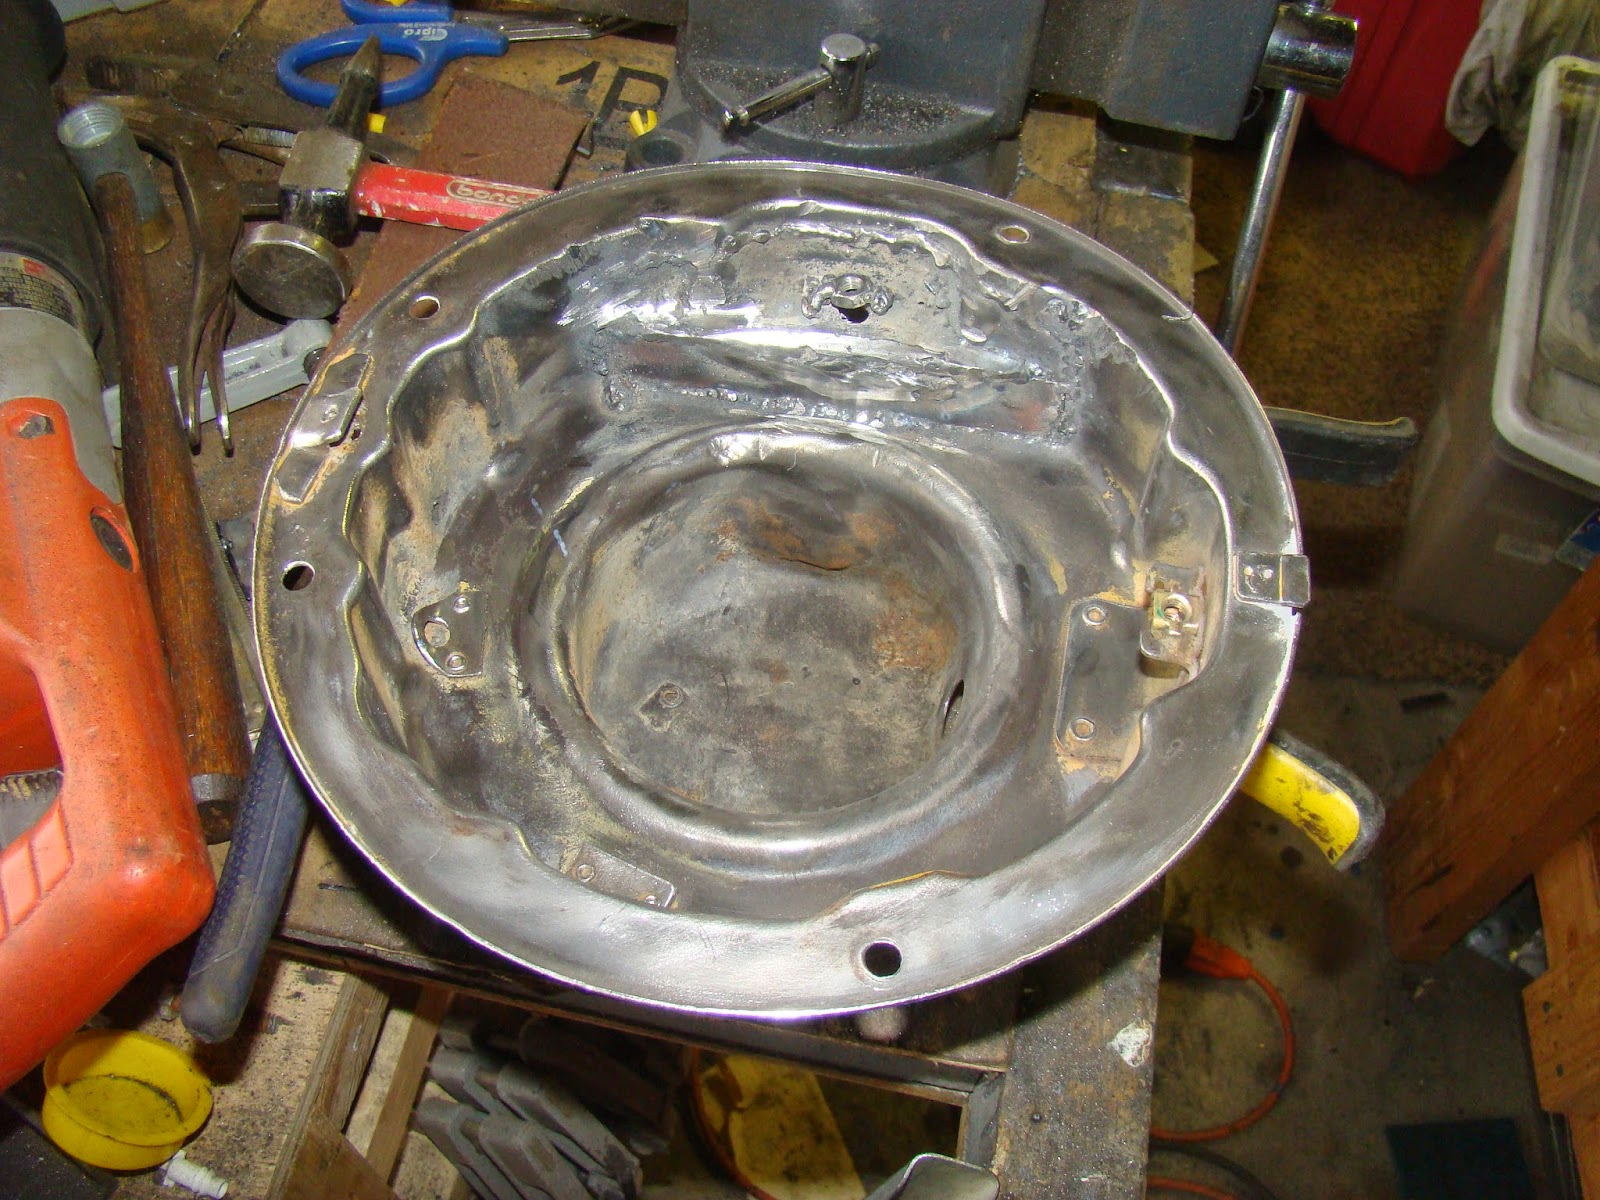


For the parking lights, I needed to make the hole a little bigger because I wasn't going with stock CJ2A/3A parking lights. I want turn signals, so I'm using CJ5 dual filament lights.


For the actually headlights, I needed new harness plugs. These are nifty little Dorman numbers, but the lead wires needed to be longer.


Saturday, January 31, 2015
Caliper swap
Front right caliper on the Dana 30 was sticking a bit, so I had to pull it, break the caliper apart, and replace the core. I've never done this, so it was a fun little project.


Monday, January 19, 2015
Saturday, January 17, 2015
Fuel system finished
Mounting the gas was a pain, but hooking it up to the filler neck and engine was fairly easy.


Wiring up the sending unit. I'm using a water-tight connector.


The return line from the fuel filter outlet nozzle. 1/4" line.


Thursday, January 15, 2015
Thursday, January 8, 2015
Friday, November 7, 2014
Gasket R&R
I didn't do a good enough job getting the seal on correctly between the Dana 18 and the T-90. But of course, I didn't learn this until I had the body on the chassis and no longer had easy access. So I built this little cart to hold up the Dana 18 and allow it to slide backwards away from the transmission without dropping in elevation onto my chest and breaking multiple ribs.


Friday, September 12, 2014
Remote oil filter mounted, plus the dipstick tube
The oil filter won't fit between the frame rail and the Ford V8, so I bought a remote oil filter kit from Trans-Dapt. I chose to put in in the notch where the original battery would squeeze in. It's well out of the way of everything else in the bay.


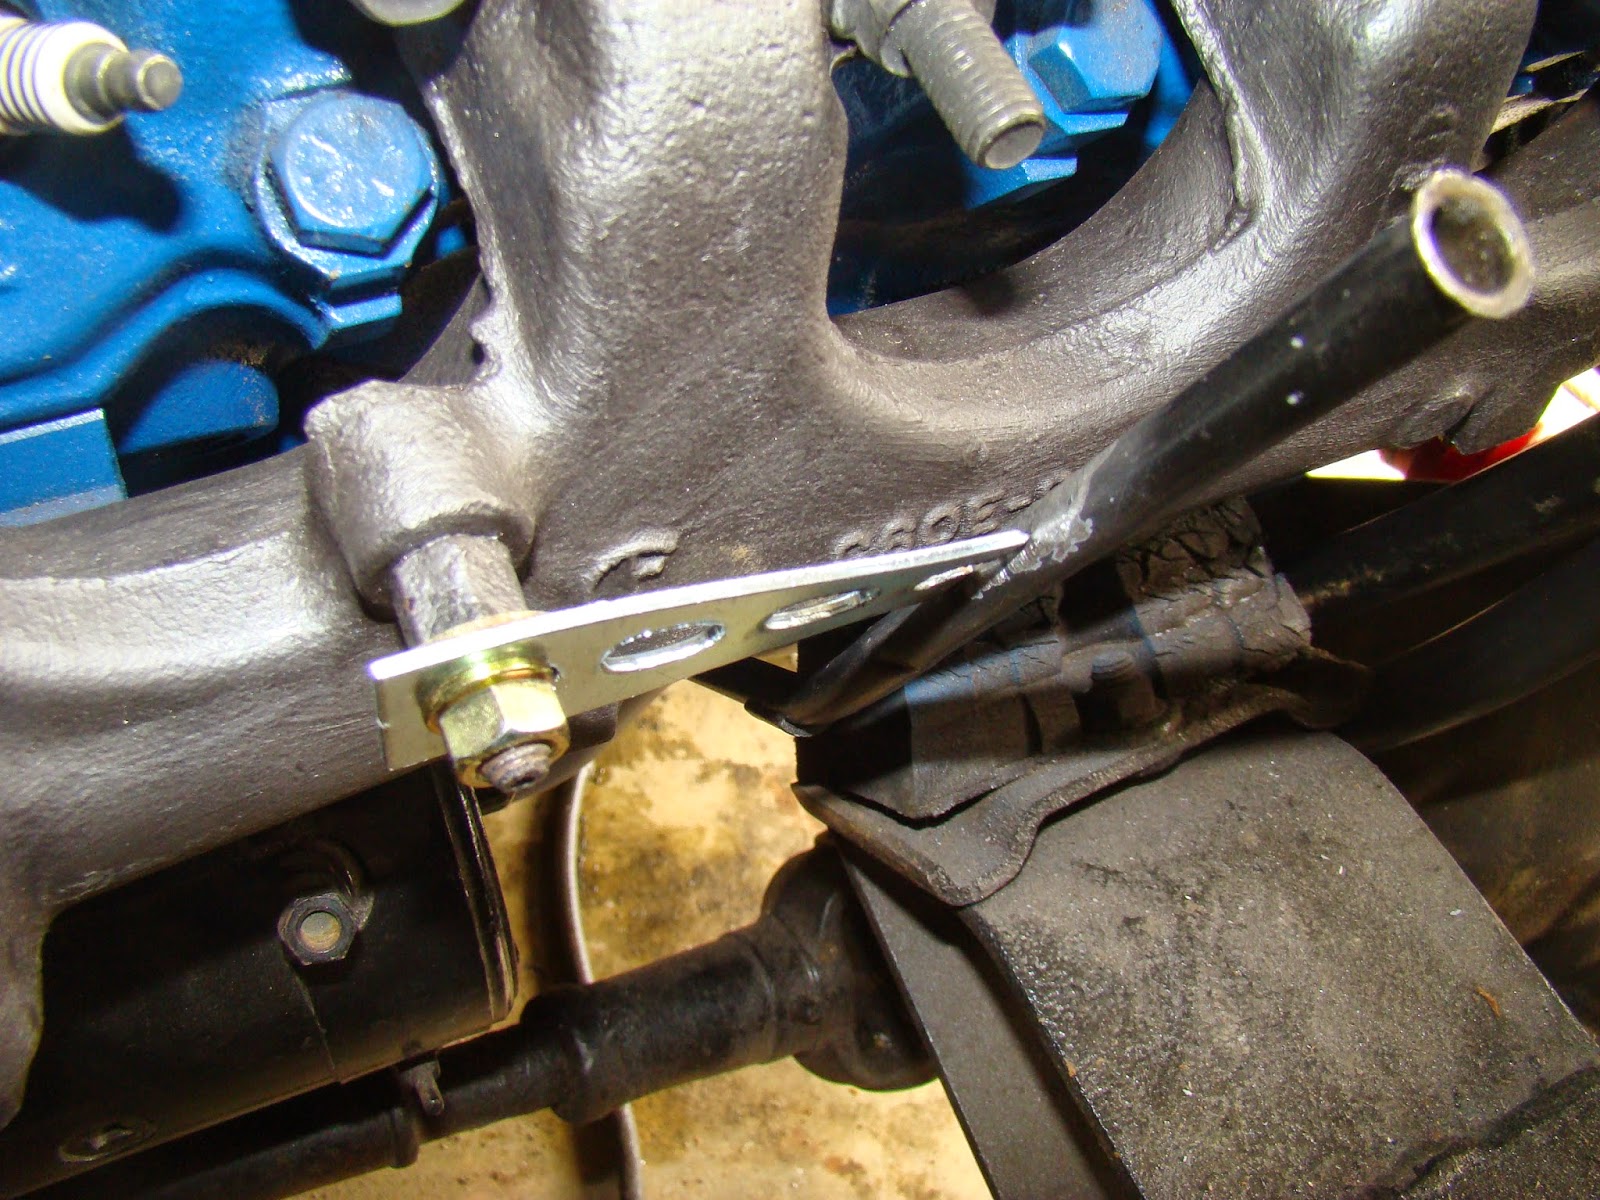
While I was at it, I went after the dipstick tube. I had some scrap metal, which fit a nearby threaded rod coming out of the exhaust manifold. I cleaned off the tube and butted it up against the scrap piece.


Subscribe to:
Posts (Atom)