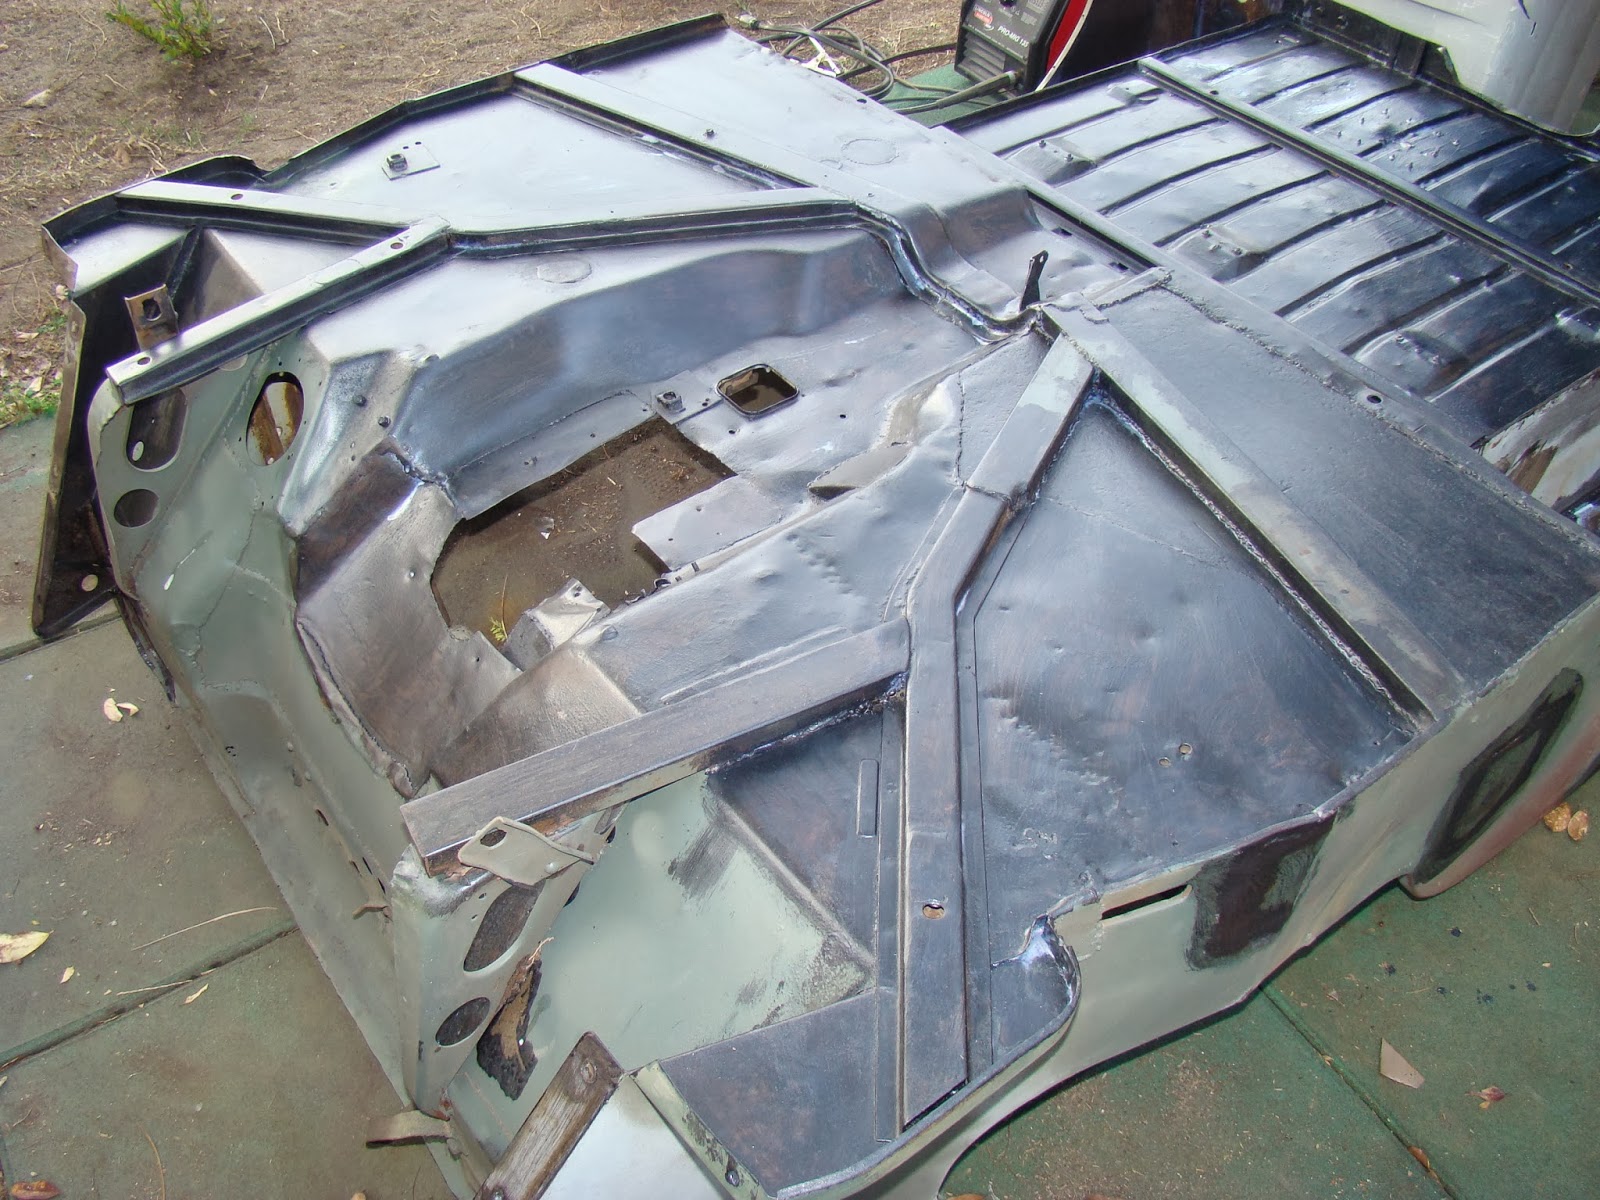
Now that I've completed the first round of kitchen cabinet doors, I can give the Willys my attention, and after the work I completed today, I think I'm about done with my prep for the Herculiner. Here's what I got done. I put the turtle on its back and gave it a hard look.
I found a bunch of silicon caulk in several seams, so I yanked it all. I'm hoping the Herculiner will help button up the panel gaps. In the pic below, you can see the level of surface rust, caulk, and random bolted on widgets that I needed to go after.
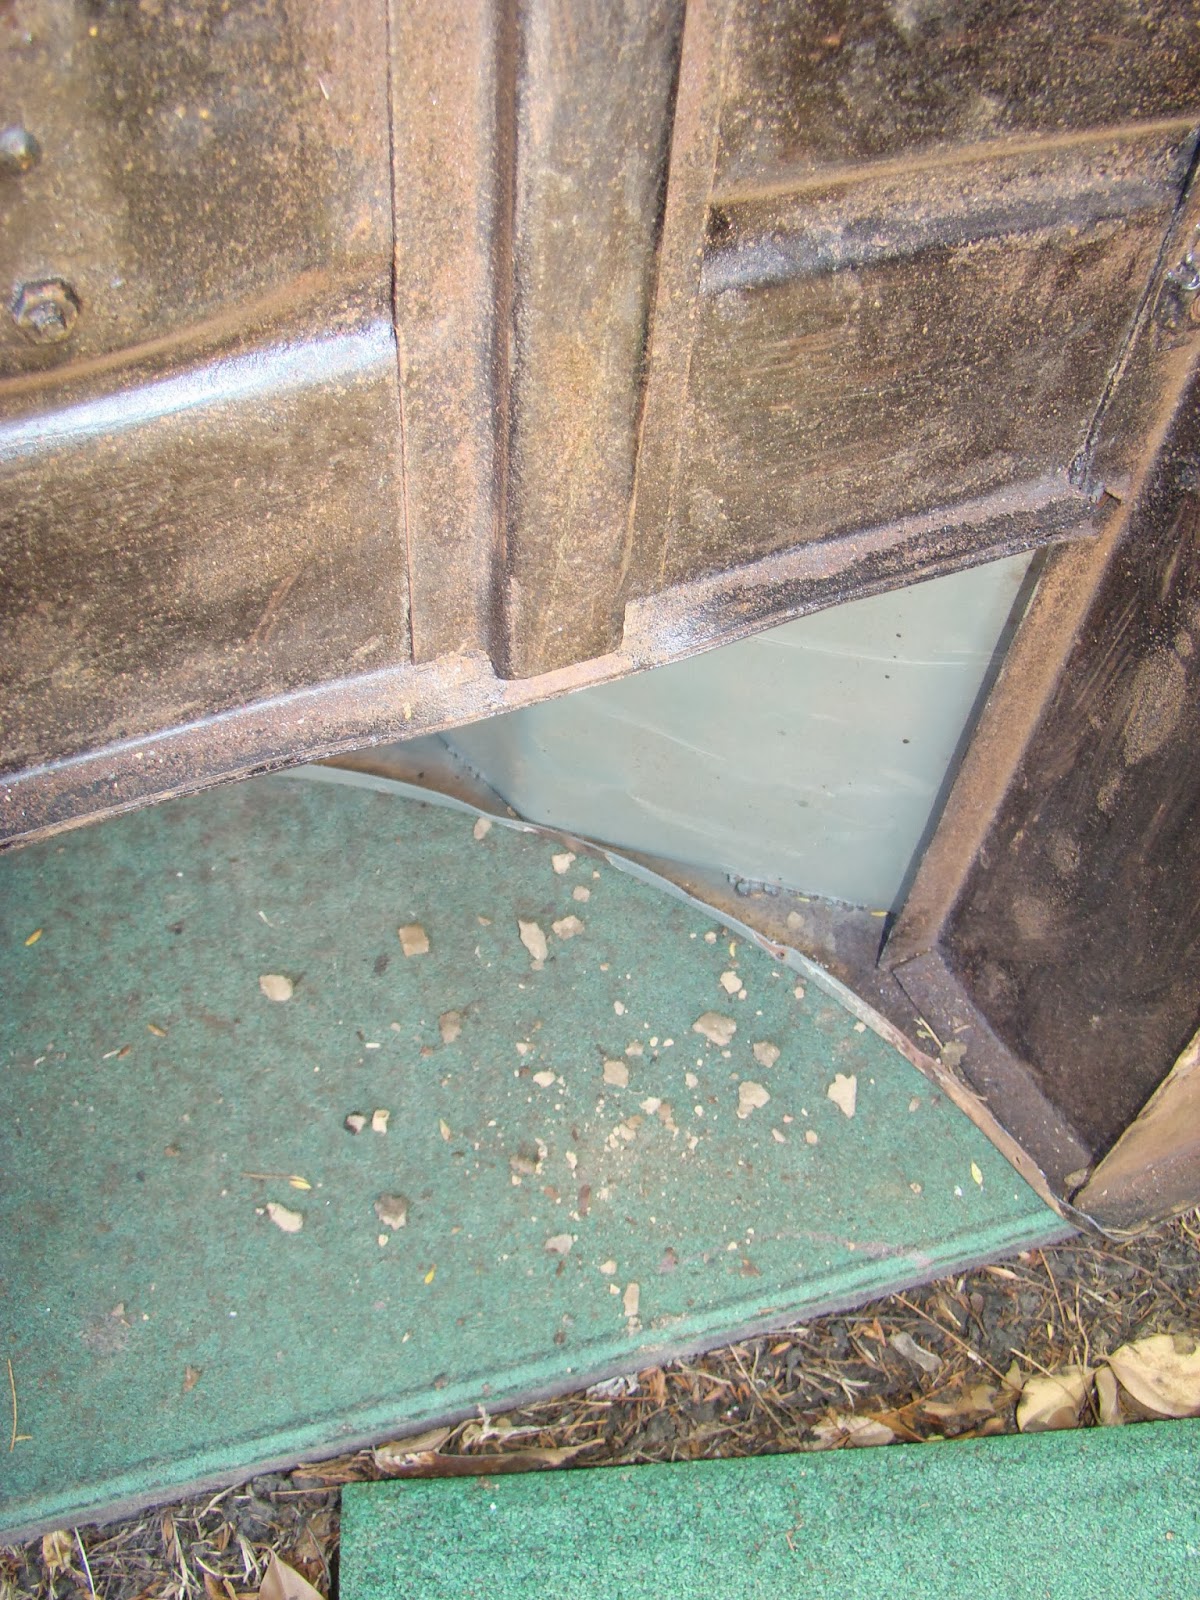
After flipping the tub around, I found I had knocked loose some mud and rocks. You can see them inside this hat channel.
So I bent the seam out from the hat channel's opening and rotated the tub up onto its side to tap out those bits.
You can see all that came out of the channel on the green mat below. I have no illusions that I got it all, but I know that I got enough.
This wheel well (driver's side) had some unnoticed issues. Primarily that hat channel loop.
The seam was bulging out from the sidewall, so I hit it with the sharp end of my body hammer to see what was what. Those holes near the gap were easy enough to find, taking almost no pressure to get deep.
My initial thought was to remove the rotted section and replace it with some sheet metal strips.
After I'd removed that first bit, I found the rot was more pervasive than I thought.
So I cut out that entire section, revealing the rot behind it.
Not pretty, but the sheet metal doesn't need replacement.
The rest of that section of hat channel did, though, since it was barely hanging on. Note the only two spot welds near the top of the pic. My air chisel popped this puppy off with a few quick shots.
Rust removed with the wire cup on the grinder.
First I welded the remaining original hat channel to the sidewall.
Then I took a section of the remaining 1"x2" tubing I used for the other hat channel repairs, cut it to size, angle cut one end to overlap the original channel, and welded it to the tub. I didn't need to weld it along the entire edge since the piece it is replacing was only spotwelded in place. I think what I've done is solid enough.
Primered in and out.
While continuing my examining of this hat channel hoop, I noticed that the spot welds on this side had also popped free. My scraper blade fit under it without difficulty.
I clamped it in place.
And welded it back on.
Filled a couple holes I'd missed from before.
Then it was on to more Permatex Rust Treatment application. I started in the repaired wheel well.
But I had done enough prep (scuffing and vacuuming up the dust) so that I could coat the entirety of the underside of the tub.
Here it is already turning black.
A few external spots that needed conversion.
Herculiner is next. Hopefully Friday when it gets a little extra warm.