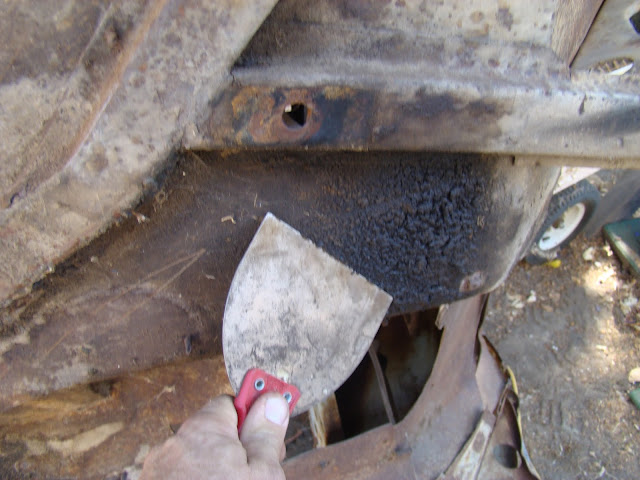
A close up. Methinks I may have a leak from the transmission or transfer case.
And the rear pinion.
I spent some useful time with a scraper getting the gunk off. I'll bring in the grinder later on, when I want to get even the thin layer of surface rust off, which I'm not ready to do yet.
When all was done, here's what uncovered. Not bad at all.
You'll notice the passenger side hat channel is all but gone. This is going to be the only significant structural work the underneath is going to need from me.
When I was done, I used a large cutoff wheel to delimit where the hat channels would be excised.
Here you can see the rotted floor where the hat channel pocket was, as well as my first cutoff spot.
I'll be removing the bulk of the Y-joint, but the portion that runs up under the passenger side foot well will stay. Here's the end product of my efforts today. I'm happy with what I've accomplished.
I'll replace them with 1"x2" rectangular steel tubing rather than repro hat channels. Cheaper and strnger. I'll weld them to the existing hat channels and the good floor.


I know this is a couple of years old but i'm about to tackle the hat channel repair myself. Great write-up and awesome pictures. thanks so much!!!
ReplyDelete