These are the hammer dollies I'm going to be using to get the lumps out, or at least under control. I got a great deal on all three in an eBay auction ($20 shipped).
I used these to help the patch panel fit its opening better. Then I started the welding. It was originally held in with spot welds, but I was determined to go to town with the Lincoln to get it all nice and tight. I know some of these look quite ugly, but remember that I'll be grinding down my booger welds later in the build.
Welding around the channel bracket was not terribly challenging. It was just a matter of filling the random holes and tracing the edges.
From the back, you can see that I got good heat penetration welding the bracket to the patch panel. I was happy to notice this. Note also that I welded the back side as well as the front. This piece isn't going anywhere.
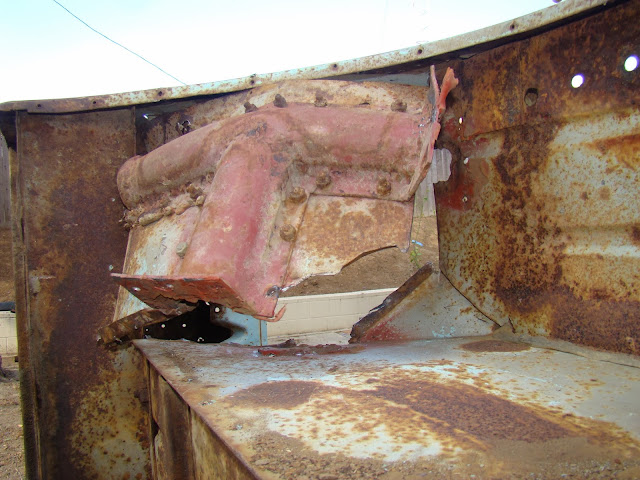
Then I turned my attention to the toolbox I removed from the 2A tub. It wasn't in bad shape at all compared to the floor it covered in the 2A tub. And since a replacement box is over two hundred dollars, I wanted this one to work out. Besides, I like to keep as much original-era stuff on the Willys as I can. This is what I started with. The vast majority of the box is solid, just scaly surface rust covering it all. In the lower right you can see a somewhat-rotted hat channel, but I'm not going to spend time welding in anything since the piece is still structurally sound.
Using the wire brush cup attachment on the grinder, I took about ten minutes to get it to look like this.
Much cleaner, right? If you look closely, you can see the backside of the embossed cursive Jeep script in the front wall of the box. I love little features like that, even though it's going to be largely invisible behind the passenger's heels. I'll know it's there.
Once the POR-15 treatment was done, this is what I ended up with. As part of the process, I poured some down the hat channels, hoping to help contain the rust. This rig will be housed inside and not driven in the rain (since there won't be a hard top), so I'm not worried about future rust.
I also spent some time removing the ugly panel behind the driver's seat, just like the one I removed and replaced on the passenger side. Not much to add to what I did before. I was bit better at it this time, not wasting time taking out the bolts. Gotta love the air chisel. I also used a small sledge hammer to beat the panel out of its opening once the spot welds and seams were severed.

That panel really is ugly, isn't it? I can't imagine it looked much better before the surface rust.
Well, that's all for now. Quite a productive weekend, and just so much fun. My brain just doesn't have room for this and school business at the same time, which is awesome.


No comments:
Post a Comment