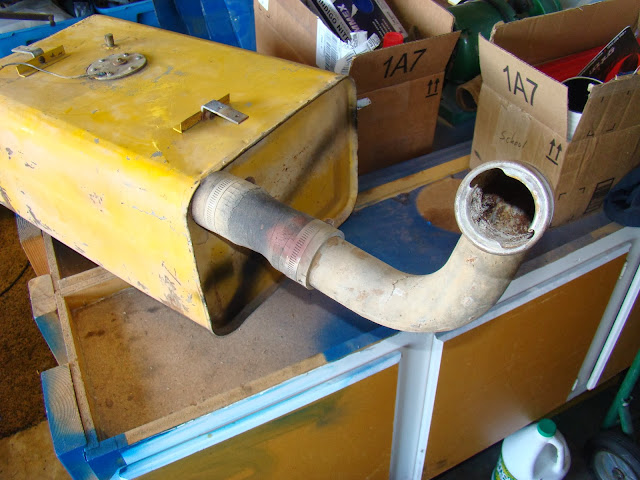
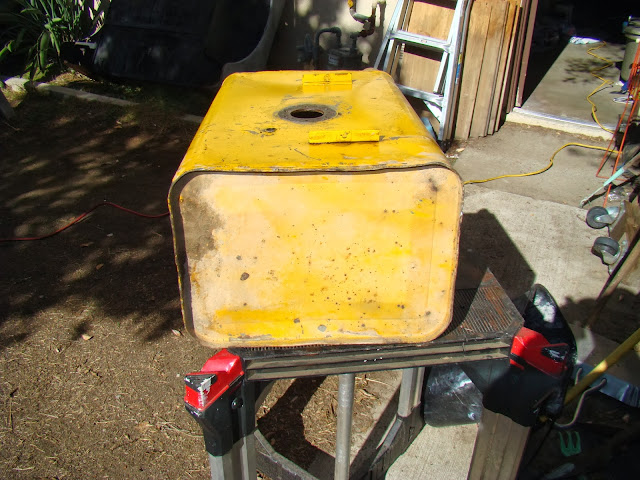
The subject. It fits above the skid plate and behind the axle, and its filler neck will line up with the flange I installed in the back right corner. But it has not baffles, no charcoal vent line, and no backflow flap. I'm going to look around to see if there's something not terribly expensive that can replace it at some point. For now, I've got to clean it, seal the inside with Red Kote, and get a new sending unit for it.
The rubber adapter is crusty and shot, but the filler neck is quite sturdy steel, so it'll remain.A close up. I'll save the hose clamps, giving them a good soaking in CLR.
The neck gets a dunk in diluted CLR, as well.
These are the items to be removed from the tank. A vent line, the sending unit, and brackets for the straps that hold it securely.
Just a wee bit crusty.
I had to soak the screws in Liquid Wrench. Four of the six came off without issue. The fifth, with the sending unit's ground wire, and the sixth gave a fight.
The ground wire screw broke off halfway in the tank. The sixth screw head couldn't handle the torque needed, stripping too quickly. Just a few minutes with the grinding wheel got the unit freed.
Here's the headless screw and what's left of the gasket material.
It sticks up about 3/16", which was enough to get it out.
Wiped down. You can see the broken off screw best in this shot.
Fortunately, there was enough sticking up to give the vice grips enough to clamp on. Letting the Liquid Wrench do its work first, I eventually was able to twist the shaft out of its hole.
Denuded and ready for a serious cleaning.
I adjourned to the backyard for this stage.
Lots of crust. In this shot, note the lines on the far right and left where the tank rests on its understraps. The rest of this is dirt/crust.
Again, the wire cup attachment on the grinder takes off the crud but not the metal (unless I put great pressure into the grinding).
The goal was to remove loose paint and crud, and to scuff the surface to make adhesion of the primer better.
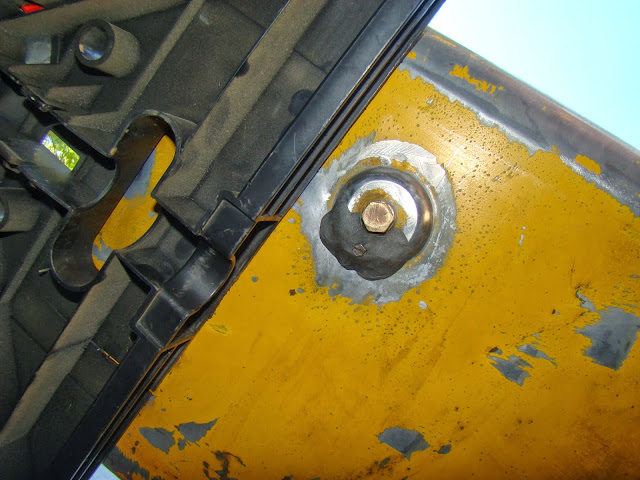
I filled the tank with what was left of the filler neck bucket of diluted CLR, adding in some fresh CLR to give the soaking a little more oomph. As I did so, I discovered a leak from the flange around the drain plug. In the pic here, the hole is about a millimeter or so square, just to the left of the hex head slot screw (the smaller one).
I had to rotate the tank every now and again to get the six sides soaked. To keep the CLR from spilling out the filler neck, I used broccoli rubber bands and a gallon Ziploc bag. There was still a slight dribble, but I couldn't ascertain where exactly the leak was coming from, either around the rubber bands themselves or perhaps from where the filler neck base meets the main tank body. I'm hoping the Red Kote will help deal with that.
My first thought when I found the leak from near the drain plug was that I'd need to weld it up or pay someone else to do it. Money. I'm not going to get chincy when it comes to avoiding fuel leaks, but get the tank cleaning and lining started, I needed that hole to go away. Then I remember that I had some J-B Weld epoxy sitting around. I cut off a slice, kneaded it into a singular consistency, and slapped it on, being sure not to touch the large drain plug bolt.
A close up as I tested my options for getting rid of the excess.
The wire cup attachment proved most effective.
On to the primer, again Dupli-Color self-etching stuff. I'm a fan so far. Normally I wouldn't have primered the outside when I still had to rinse/empty the inside of the tank, but I had time to kill as the CLR did its work.
Once the primer dried, I had to clean out the inside. The options are usually rocks or chains. I went with some chains I had left over from an old boxing heavy bag. Drop them in the tank and then start to shake like mad. I got rid of some of the CLR solution first, leaving at most a gallon so that whatever was dislodged would be held in suspension. Once drained, to get the rest of water out, pour in some acetone, up to a pint. Helps in the dryer process.
This is my main sewer drain access pipe. I have no problem dumping the CLR solution down it since I put this stuff in my toilet occasionally to eliminate hard-water stains.
It's a rather milky substance at first, with lots of CLR foaminess.
Towards the end, the outpouring was darker as the rust particulates finally made their way out.
A shot through the sending unit's opening using light from the filler neck. Job done. Now I'll just let it dry fully and get the Red Kote in there soon, perhaps on Friday.


No comments:
Post a Comment