This is the kit I bought from Herm the Overdrive Guy. It came with a new, hardened center shaft, better bearings, the Crown gasket and seals kit, thrust washers, and so on. He's a bit old school in his online business methods, only taking cash or money orders, so I sent him a money order and he sent me the kit.
The bulk of these pictures are going to be provided with minimal commentary. If you need to know how to take care of this, check out these sites:Rick Stivers' build.
Novak Adapters.
Doug H.'s rebuild (following Stivers' but with more pictures).
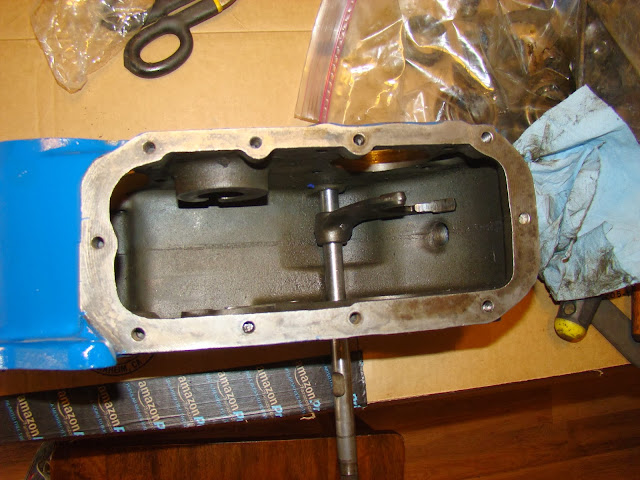
Starting with the shift rails.
Getting the front bearing cup together.
I am really quite partial to my bearing packer. Put the bearing under that red plunger and push hard, and the grease just goes into all the nooks and crannies. On the left, note the green transmission assembly goo. It's much firmer and tackier, which will help hold several tiny parts in place during the put together.
Packed bearing on the output shaft.
Big gears. These are what help make the Dana 18 such a killer transfer case. Rather than a chain looping the input and output shafts together, there's a center cluster shaft that connects them. Very strong.
The front end of the output shaft.
Ditto.
Getting ready to put the front bearing cap on it.
Rear bearing race.
Now the nightmare begins. There has to be between .002" to .008" end play on the rear of the output shaft. Shim packs make it possible to dial that in. Here's what I started with.
Then I had to install the rear bearing cap (on the right). This is the first of a half dozen times I'll be doing so.
I used a dial caliper to figure out the end play. At first, I had zero end play, but then I figured out that I needed to have the seal between the front bearing cap and the case. That, plus the stack of shims, gave me 15 thousandths. I need two to eight.
After way too many install/remove/reinstall moments, I ended up with just under 5 thousandths (.005"). Consider me happy.
These are the shims I'm using to get the right end play. Once I had the right combination of shims, I sprayed them with copper sealant.
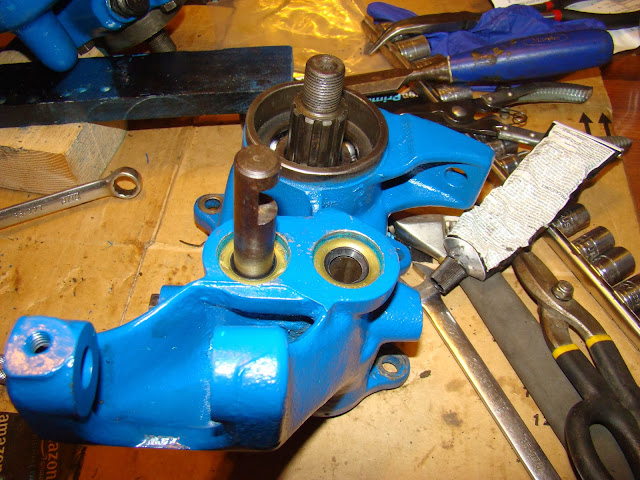
Seals on the shift rails.
Here are the two shafts, new one on the left, of course. I sanded it down a bit to take a few thousandths off for the next step.
Sliding it inside the center cluster gear, I began the process of needle bearing installation. This is similar to what I had to do on the cluster gear when I rebuilt the T90. First, I pop on a washer. Note the grease assembly grease. Extra sticky.
Bearings installed. I put them in around the old "dummy" shaft and tapped them down.
In this shot, I've got half the new, hardened center shaft in.
Installed, with the little clip bolted in to keep the shaft from spinning or coming out.
Note the two different cuts in the gears: helical and straight/spur cut. The straight cut gears are, apparently, a bit noisy. Who cares.
Front output shaft seal. The yoke will slide inside it.
Felt gasket on the rear output shaft.
All done.


No comments:
Post a Comment