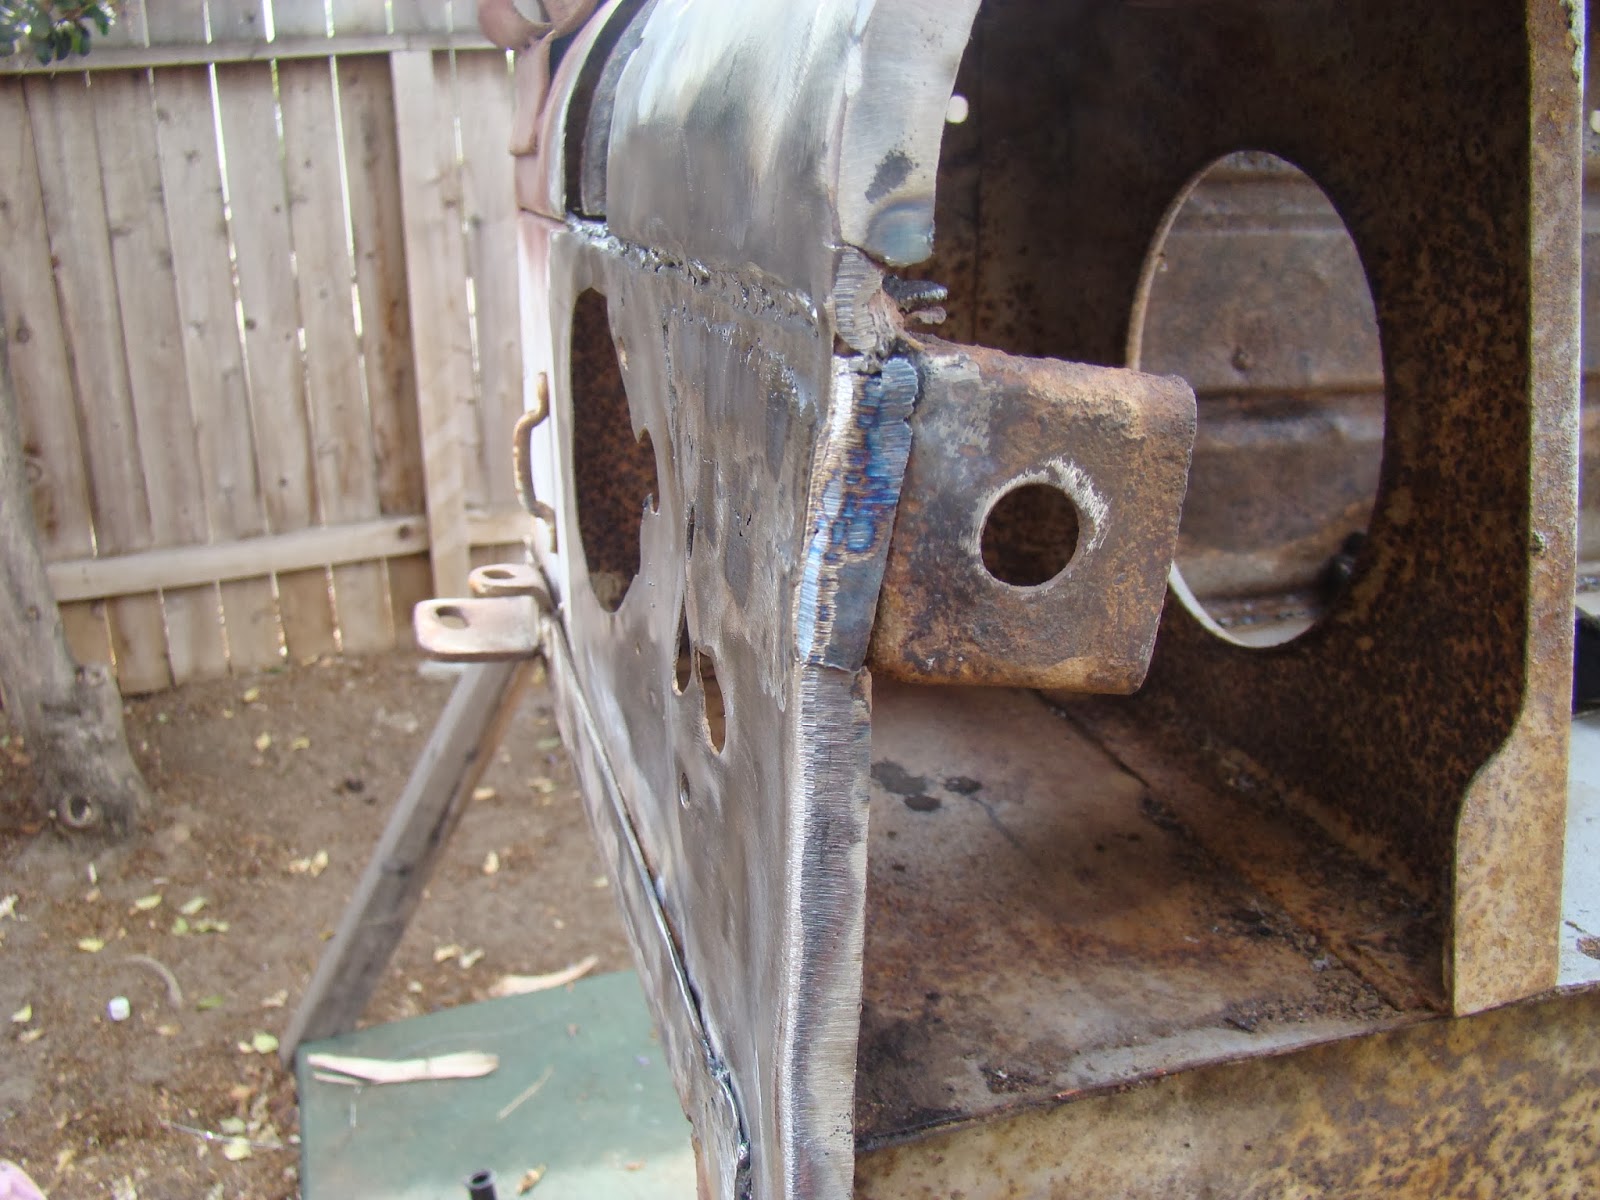
After spending so much time getting the floor as fully welded to the rest of the body as possible, I was ready to burn in the 1"x2" tubing as my new "hat" channels. I began with the driver's side triangular firewall/chassis bracket. Again, same as I did before. This one was in even worse shape than the passenger side.
The air chisel, as before, makes for quick removal. This one had so many broken welds that I had to cut away very few of them.
Here's the one on the donor tub. It's been cut on a little (see the semicircle cutout in the lower portion of the picture). I'm assuming this was for a brake master cylinder, perhaps. It may come in handy later.
Out and ready for installation.
This pic isn't terribly exciting or informative, but it shows the six welded nuts that I'll need to copy on my 3A tub to accommodate the cover that bolts to them.
There was some warpage in the firewall that made alignment with both it and the existing (and solid) hat channel difficult. As a woodworker, I've got oodles of clamps. The key one that made all the rest of secondary importance is in the far left of the pic below. It holds the top of the triangular bracket in place. Everything else indexes off of that. The extra holes in the firewall helped get the flanges flush with the various parts to which it's going to be welded.
I've said it too many times, but I'll say it once more. I'm welding way more than I need to do. I'm not trying to replicate the spot welds (or anything else, for that matter). I just want this to be a solidly built rig that won't shake loose on the trails.
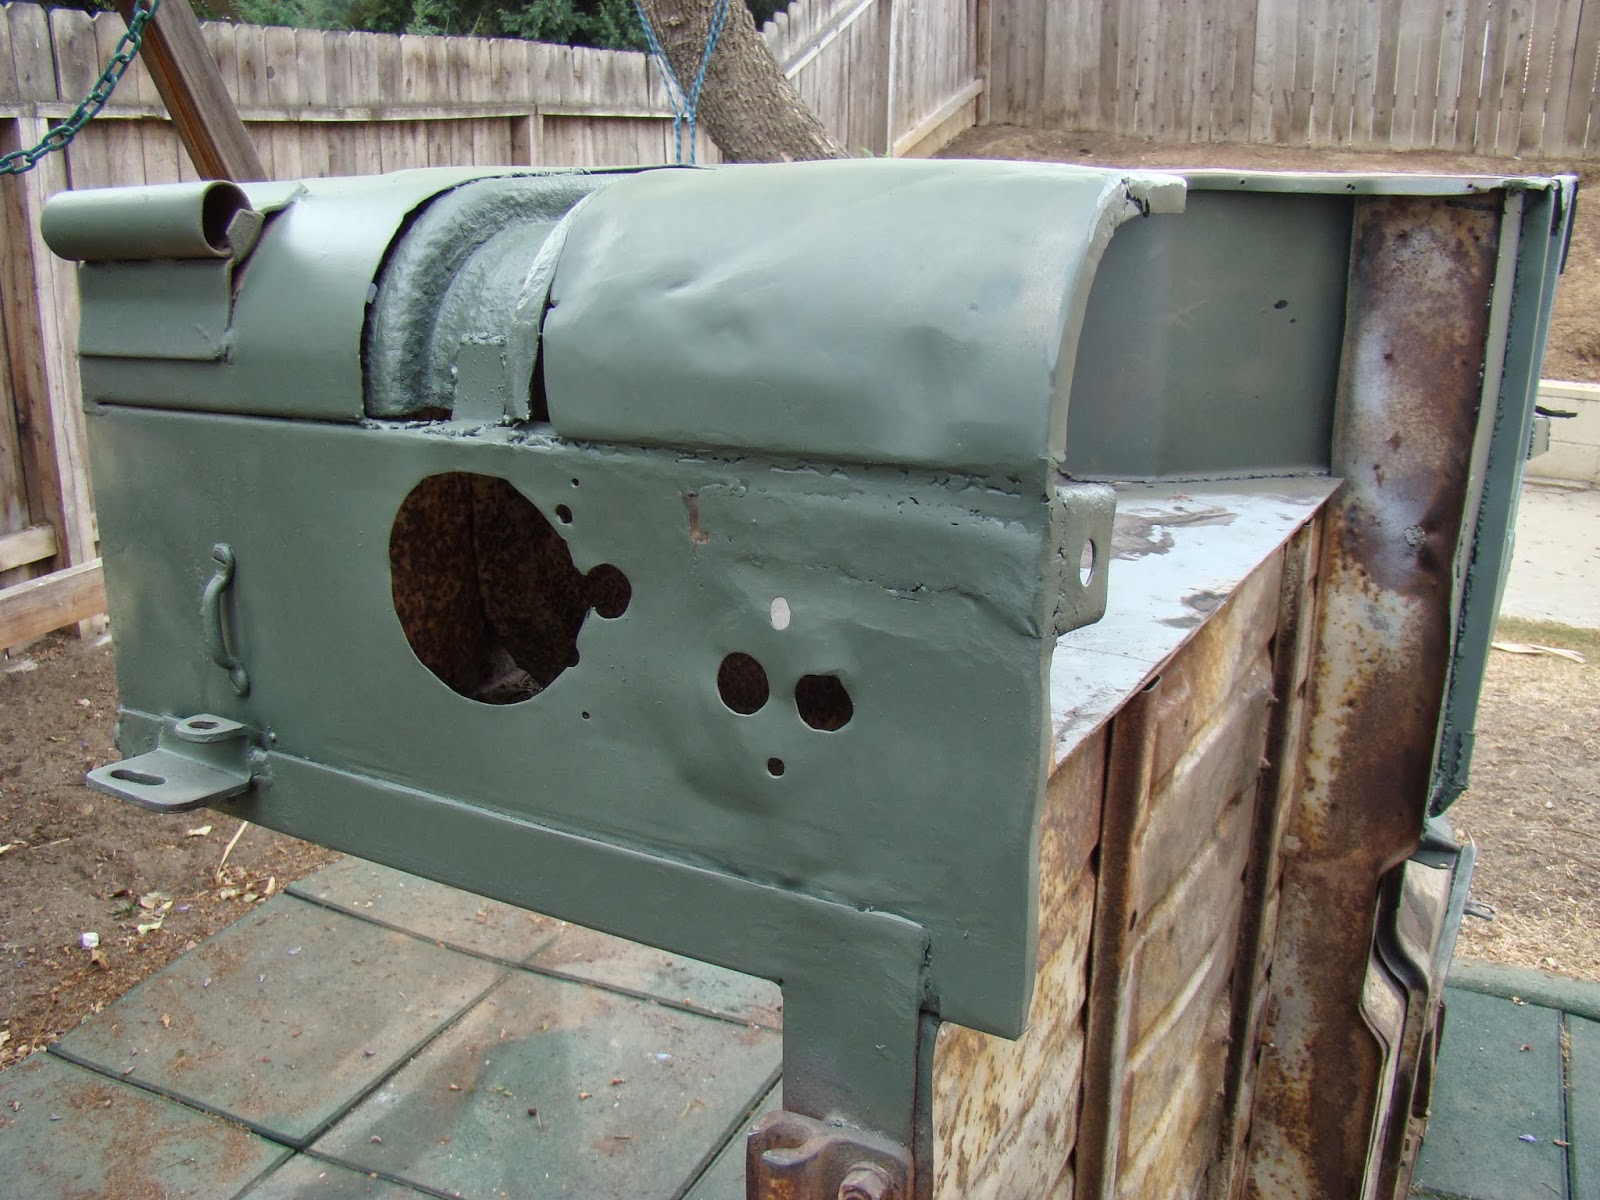
Quick coat of self-etching primer to seal it up, for now.
Time to weld the original floor to its replacement. I also drilled some 5/8" holes that I'll fill in with plug welds from the other side later.
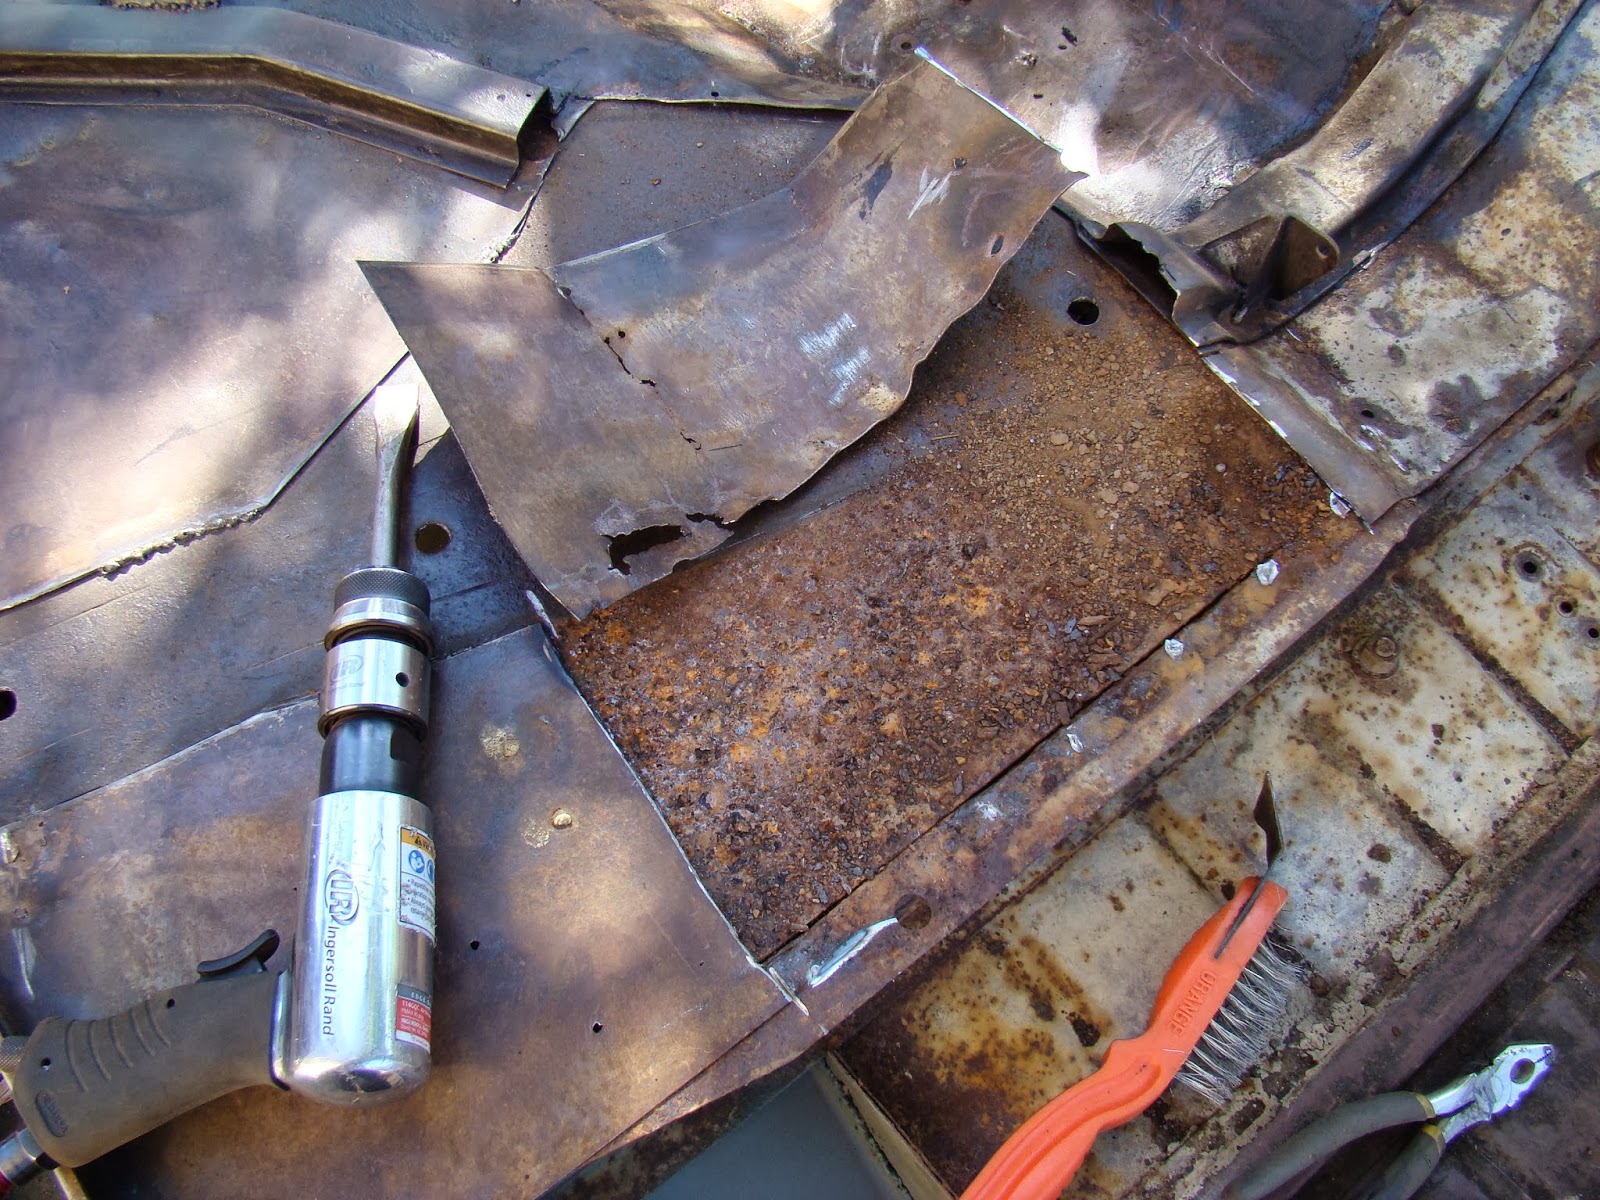
The more I looked at the portion of the floor still remaining under where the toolbox goes, the less I liked it. I cut clean through in one spot and started peeling back the sheet metal, using the air chisel to bust loose what wasn't already on its way.
Lots of scaling, but it is still thick and solid. Again, I just don't need anything on the rig that will be an issue farther down the line.
The rest of this section had to go, as well. I then used the wire brush cup to get the scale off.
POR-15 everywhere I can get it. It's not a cure-all, but it will be better than nothing.
I trimmed back the remaining edge of the original floor and gave it some rust converter, as well. Once that flange area dries, I'll weld it to the "new" floor pan.
Test-fitting the tubing. I got it under the lip of the outer body panel (lower left in this picture) and butted up against the hat channel that curve over/under the tranny hump. You'll also notice that I've started welding the back seam of the floor panel to the original tub body.
Through clamps and, at times, my own body weight, I got the tubing down and welded to the floor pan. At several points, to accommodate the curvature of the floor, I was standing/squatting on top of the tubing to get it as flush as I could to the pan. It doesn't line up perfectly along the entire tube, but where I couldn't get it to do so, due in part to heat warpage and in part to the curvature of the pan itself, I hammered in some scrap 16 gauge strips to give me some meat to weld. It worked, I think.
This is my first attempt at tying in the tubing to the hump channel. Ugly as heck, but solid and just about water tight. When I eventually get around to undercoating the entire belly (in the next month or two), this won't be noticeable.
Getting the second channel welded in. Obviously this piece is skinnier by a good 1/4"or more.
B
ut a few relief cuts helped me get it snug against the original channel.
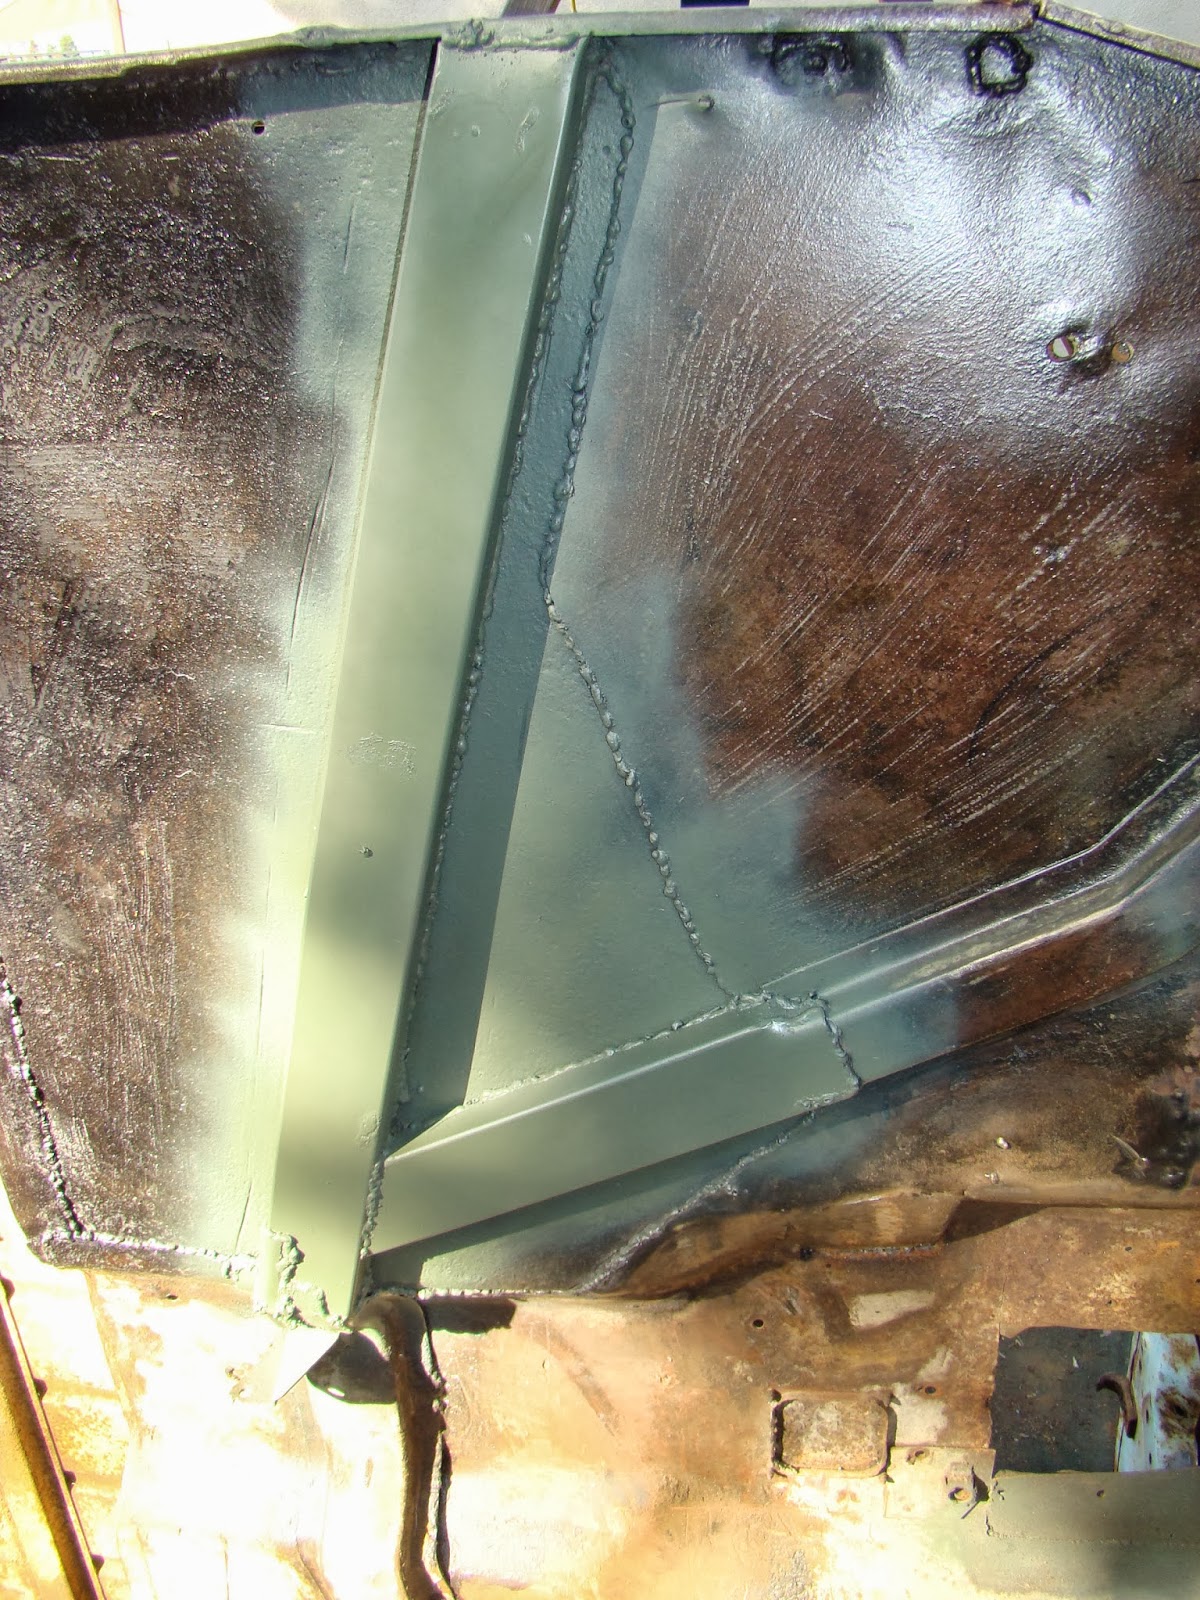
Wide shot. All the edges welded in. It's dang near bulletproof.
Evidence of good heat penetration. While it looks like the sun is shiny through the plug-weld holes, that's just reflected flash light.
POR-15 coating to assure the rust will be all but gone.
Self-etching primer to keep the rust at bay.
I plug-welded in the 5/8" holes. They each give me another point of attachment.
I have great faith in these additions to the rig. I can jump on this, and it won't budge.