Saturday, May 31, 2014

Fenders mounted

Got some fender welting from Speedway Motors, vinyl with a little cording along one edge.
I chased the threads to get the paint out.
I didn't want the corded edge on the outside of the fender, so I used some high-tack sealant to hold it in place.
Since the grill was narrower in its depth, I put the corded edge on the outside.
My assistant, helping me get the original welting pop-riveted in along the top of the grill.
Mounted and ready to go.

My other assistant.


Friday, May 30, 2014

The grille and tub mounts

Putting the grill on just gives the rig a face and makes it feel more complete.
I'm following the essence of the system I used for the tub mounts: lift block, polyurethane block, Ford valve spring, and a grade 8 bolt.

Wednesday, May 28, 2014

Attached some doodads

Window latches mounted.  The paint is chipping, but I'm not surprised, nor do I really care.  Worn is what I'm going for.
This is the brake master cylinder access cap.  A bit rotted around the edges, but worth keeping.  I bolted it in place.

Monday, May 26, 2014

Bits and pieces and bedliner

Took a while, but I found a Napa Auto parts that sells 90 weight mineral oil that won't rot my transmission gold.
To finish up the interior floor for bedliner, I have to get the tranny tunnel figured out.  Here's my best effort.

A little rust treatment.
This pin (which I'll have to replace at some point) holds the Dana 18 shifters in place.  It's also greasable, which is good, but that makes it more delicate for hammering in place.


This is where I'll cut the cover to make room for the Dana 18 shifter.
The last remaining bit of Herculiner finished off the driver's and passenger's foot wells.


This is a bored out window frame mount that I'm going to repurpose as a side-view mirror mount.

These are other bits I'll need.  On the right is the Dana 18 breather cap.

Sunday, May 25, 2014

Engine buttoned up, for now

The crankshaft balancer hub that fits into the timing cover seal was a little worn, so I found out that they make crankshaft sleeves out of extremely thin sheet metal that are slightly smaller than the hub itself.  A little grease, and you hammer it on.
Good to go.
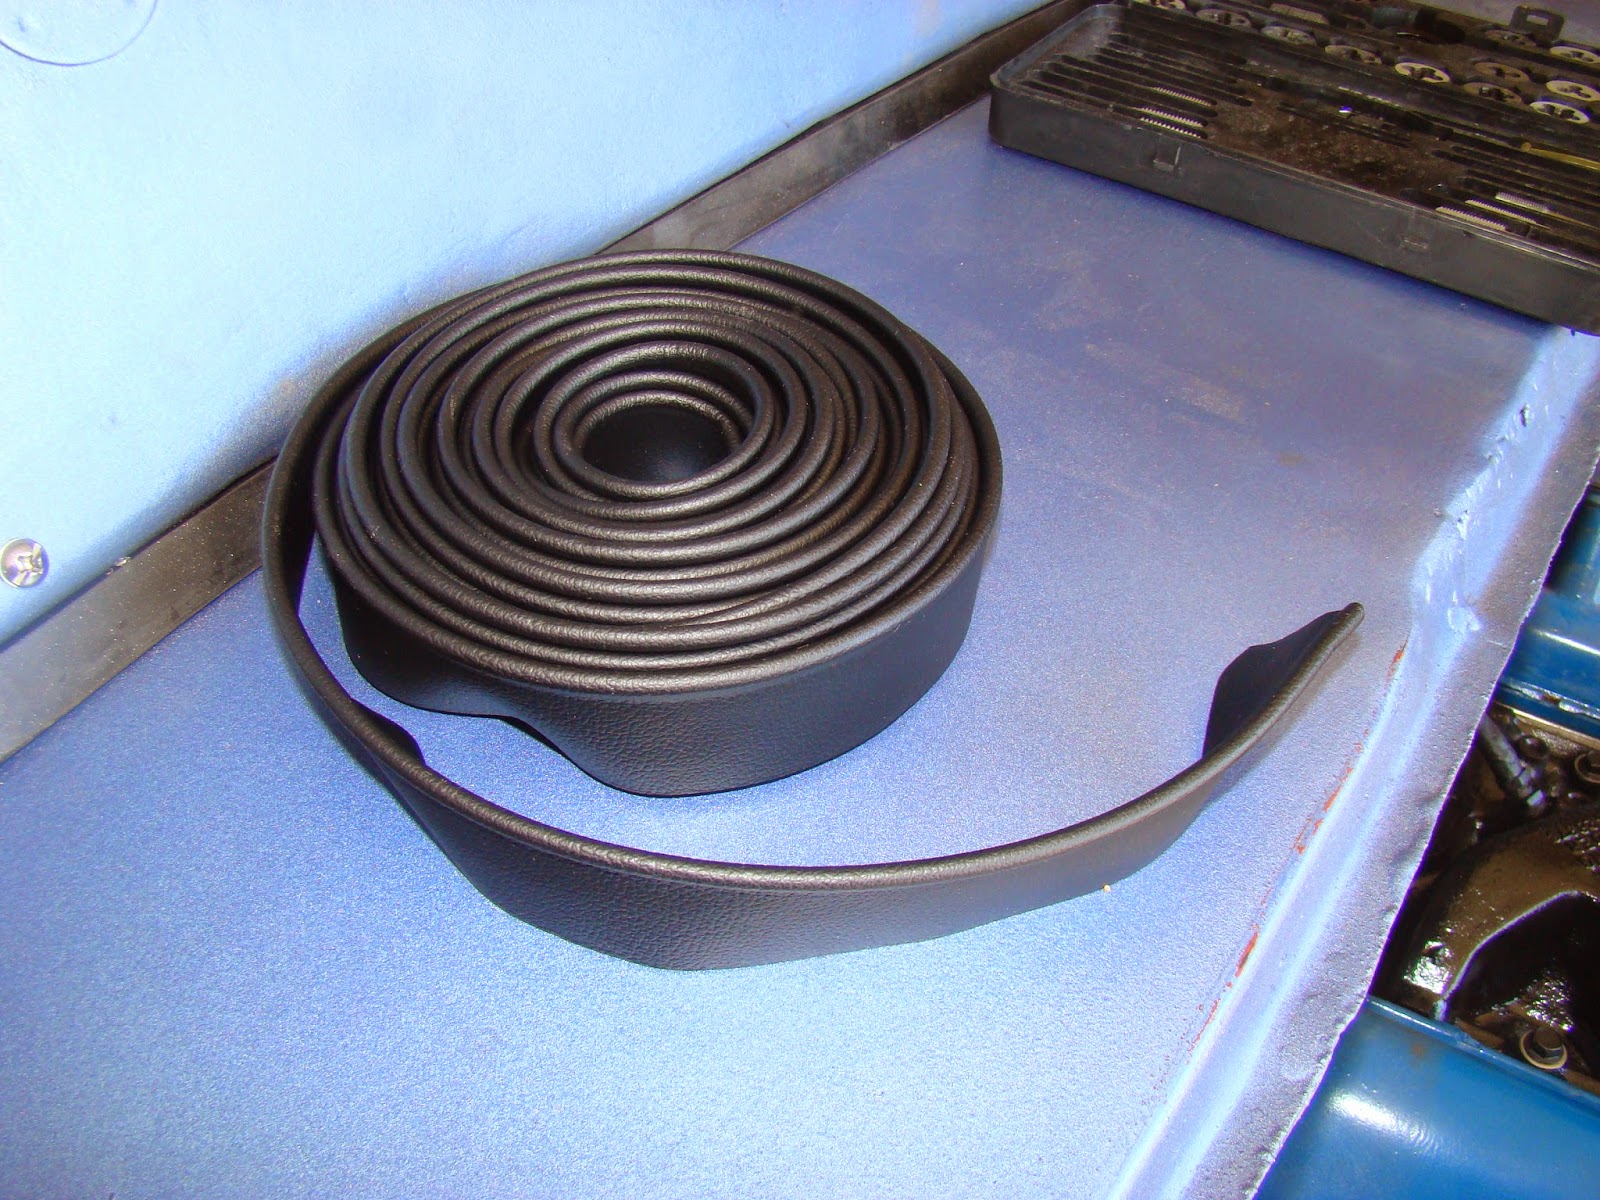
To tap the timing seal in place, I bought an exhaust pipe adapter, covered it in blue tape to cut down the abrasiveness it may have.


Timing cover bolts with anti-seize.


Time to mount the oil pan.
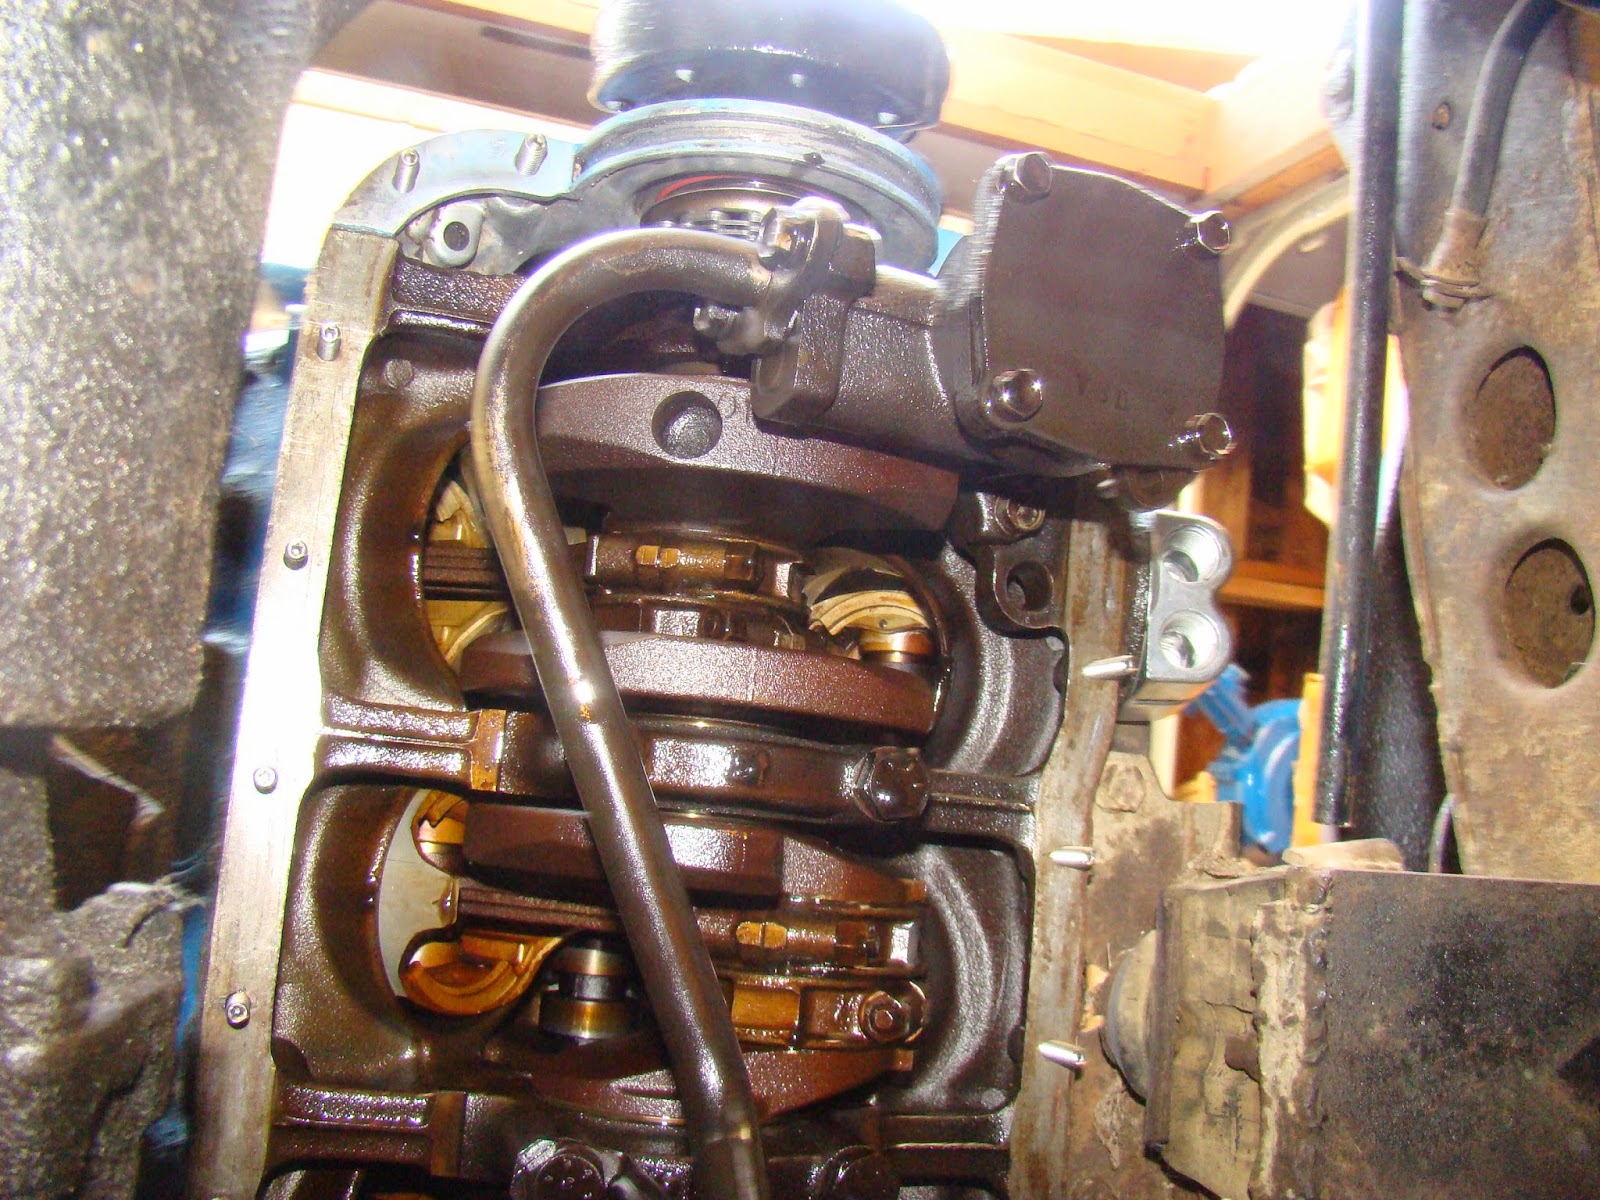
Here's the rotating assembly.  No sludge.  A nice sheen on everything.  I'm pleased.  (I may have a cylinder or two with low compression, but so be it for now.)


New, reusable gasket and studs instead of bolts.  Both will make oil changes more friendly.


 Fuel pump seal and RTV.
Pump on.


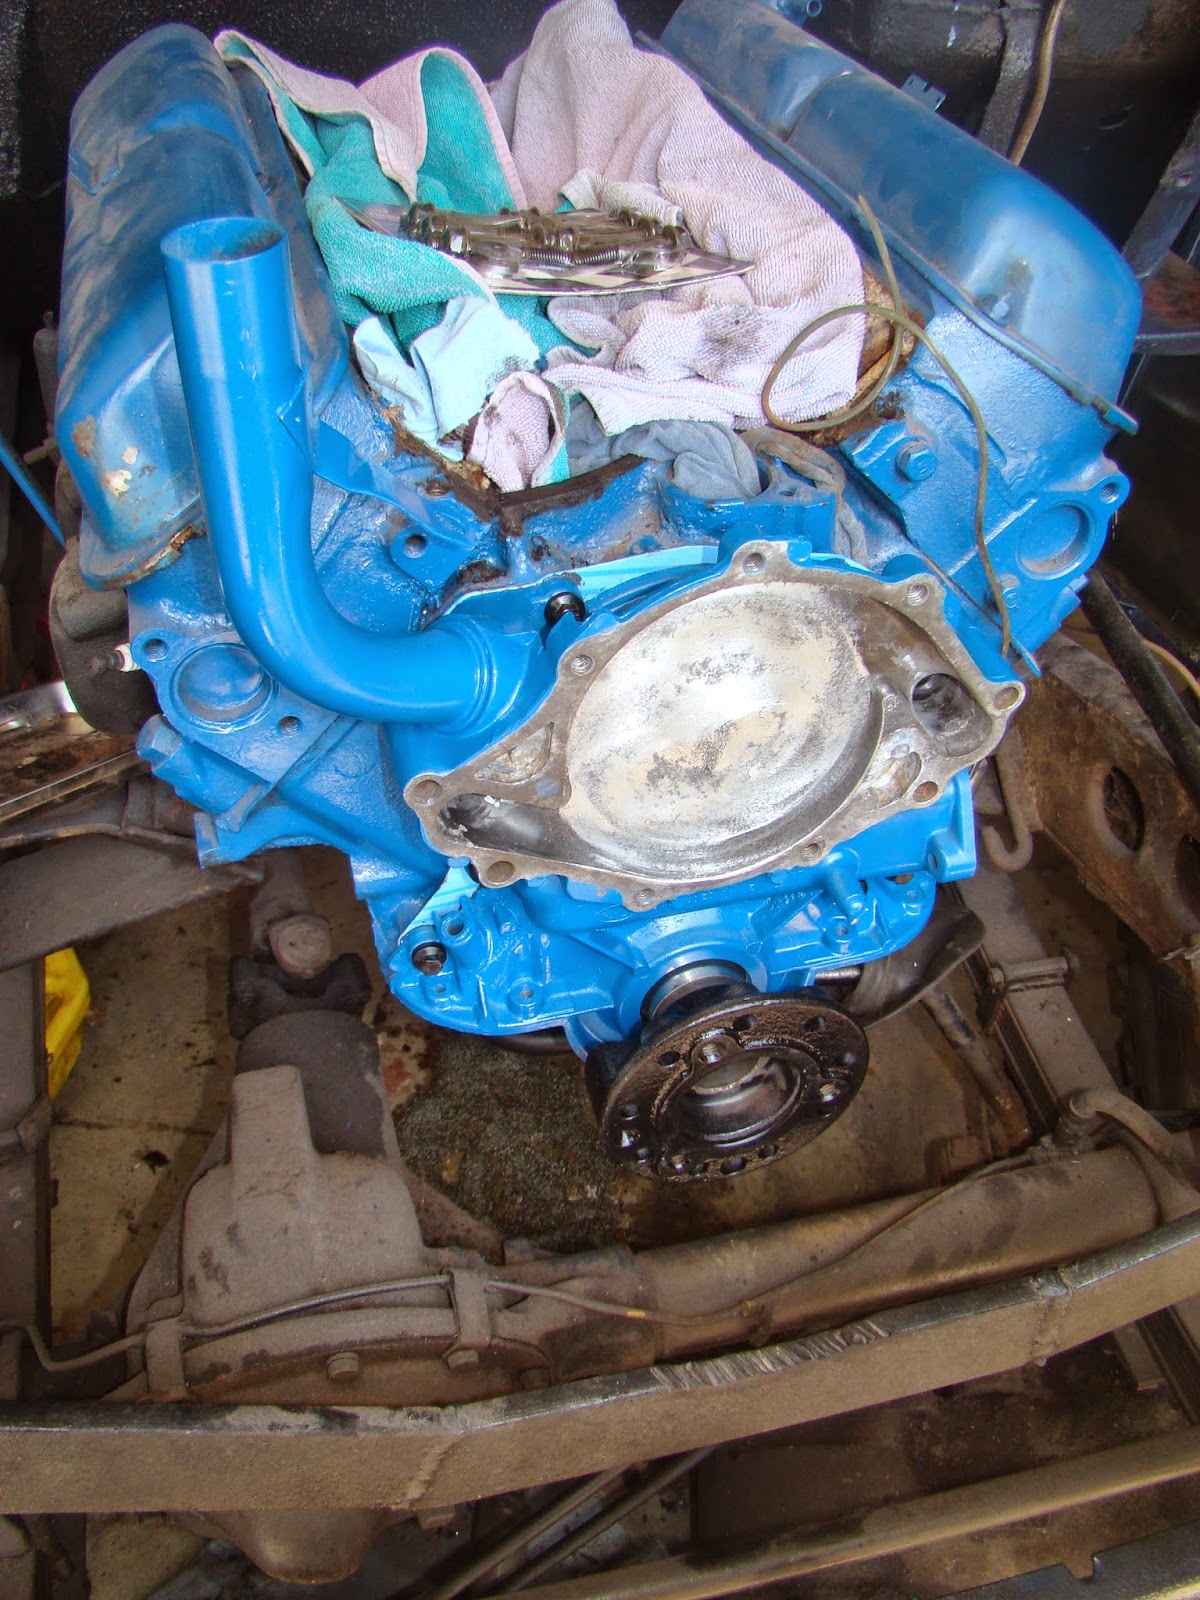
These intake ports are a bit crusty, so they'll need a scraping.  I started by putting in some shop towels to keep crud from dropping down into the cylinders.


Scraped clean and the lifter valley vacuumed.
They aren't perfect, but they are better.


Gaskets in.
Intake set in place.  Much easier to do with no fenders or grill in the way.  That way, I could go straight down without worrying about the gaskets moving.


Pulley in place with grade 8 hardware.


After my boy and I got the water pump  in place, we went to work on the alternator.  It's a GM one-wire alternator, but I was able to use a Trans-Dapt 9455 bracket for a small block Ford engine (though supposedly it wouldn't work with a 260, but it did).


Steel tubing (leftover from the hinges I made for the tool box lid that sits under the passenger seat in the tub) made the alternator mounting solid and stiff.
Done.