Once our "winter" turned warm, indoor projects like installation of the Warn overdrive unit were put off while I worked on the tub in the sun. But I've been preoccupied of late building and painting kitchen cabinet doors, as well as building workbench as a way to get the garage organized. At last, though, I'm returning to this project to button the drivetrain up.
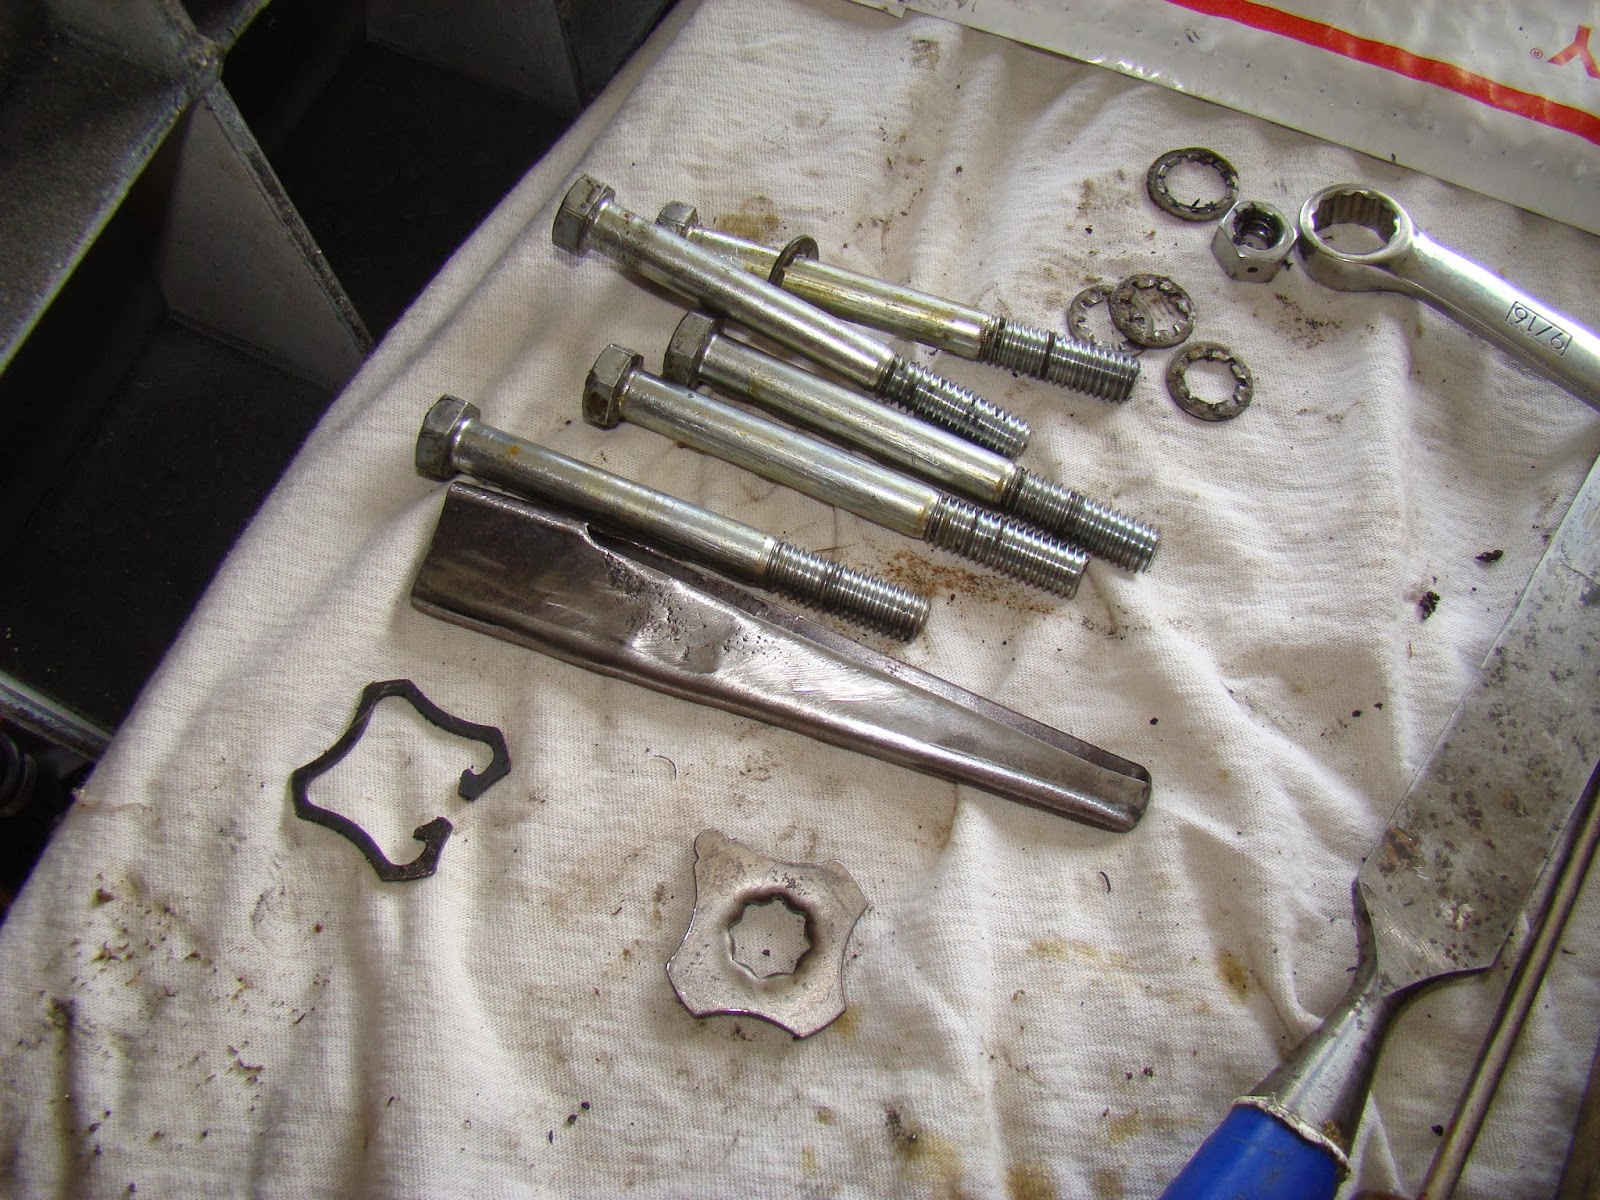
Old made new again. I cleaned up the bolts and the oil scoop with a scraper and a flap disc in the grinder. No "before" pics, unfortunately.
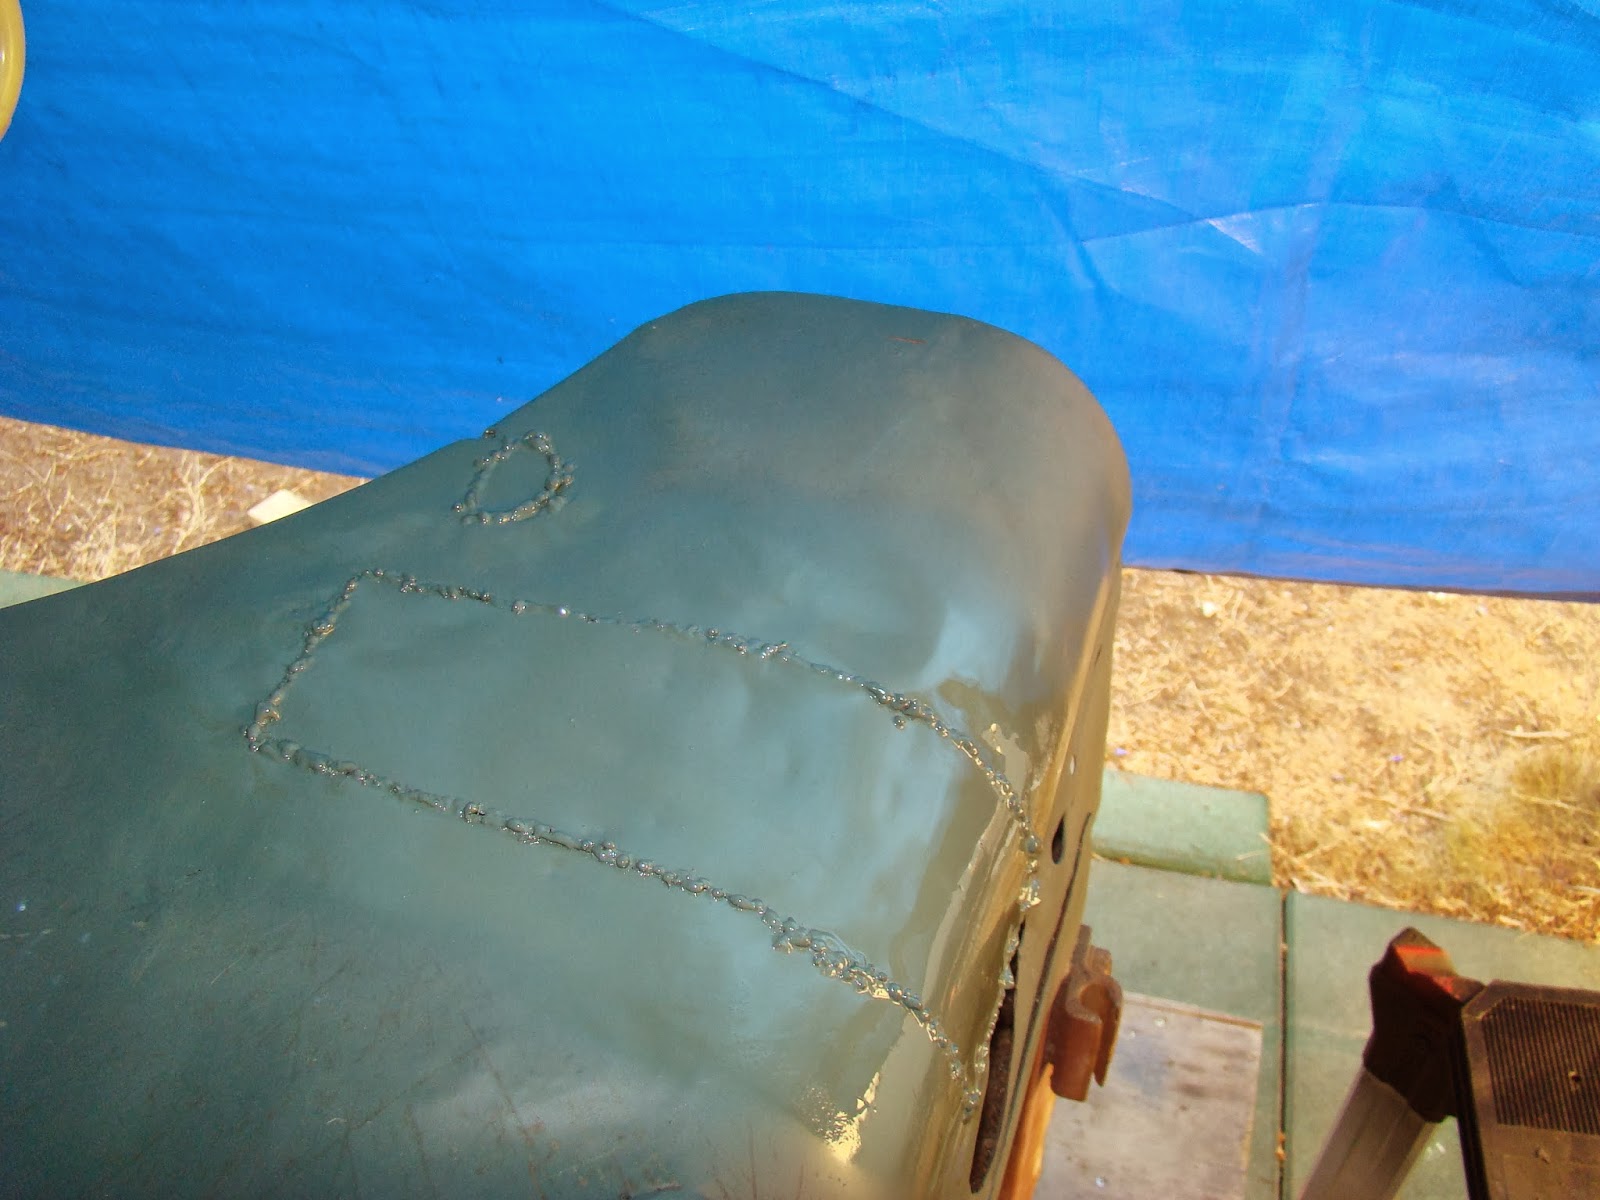
I had some seals to install, so I started by taking the case apart.
Here are the internals and the remains of a rather old gasket, which was held on quite securely by age, pressure, and sealant adhesives.
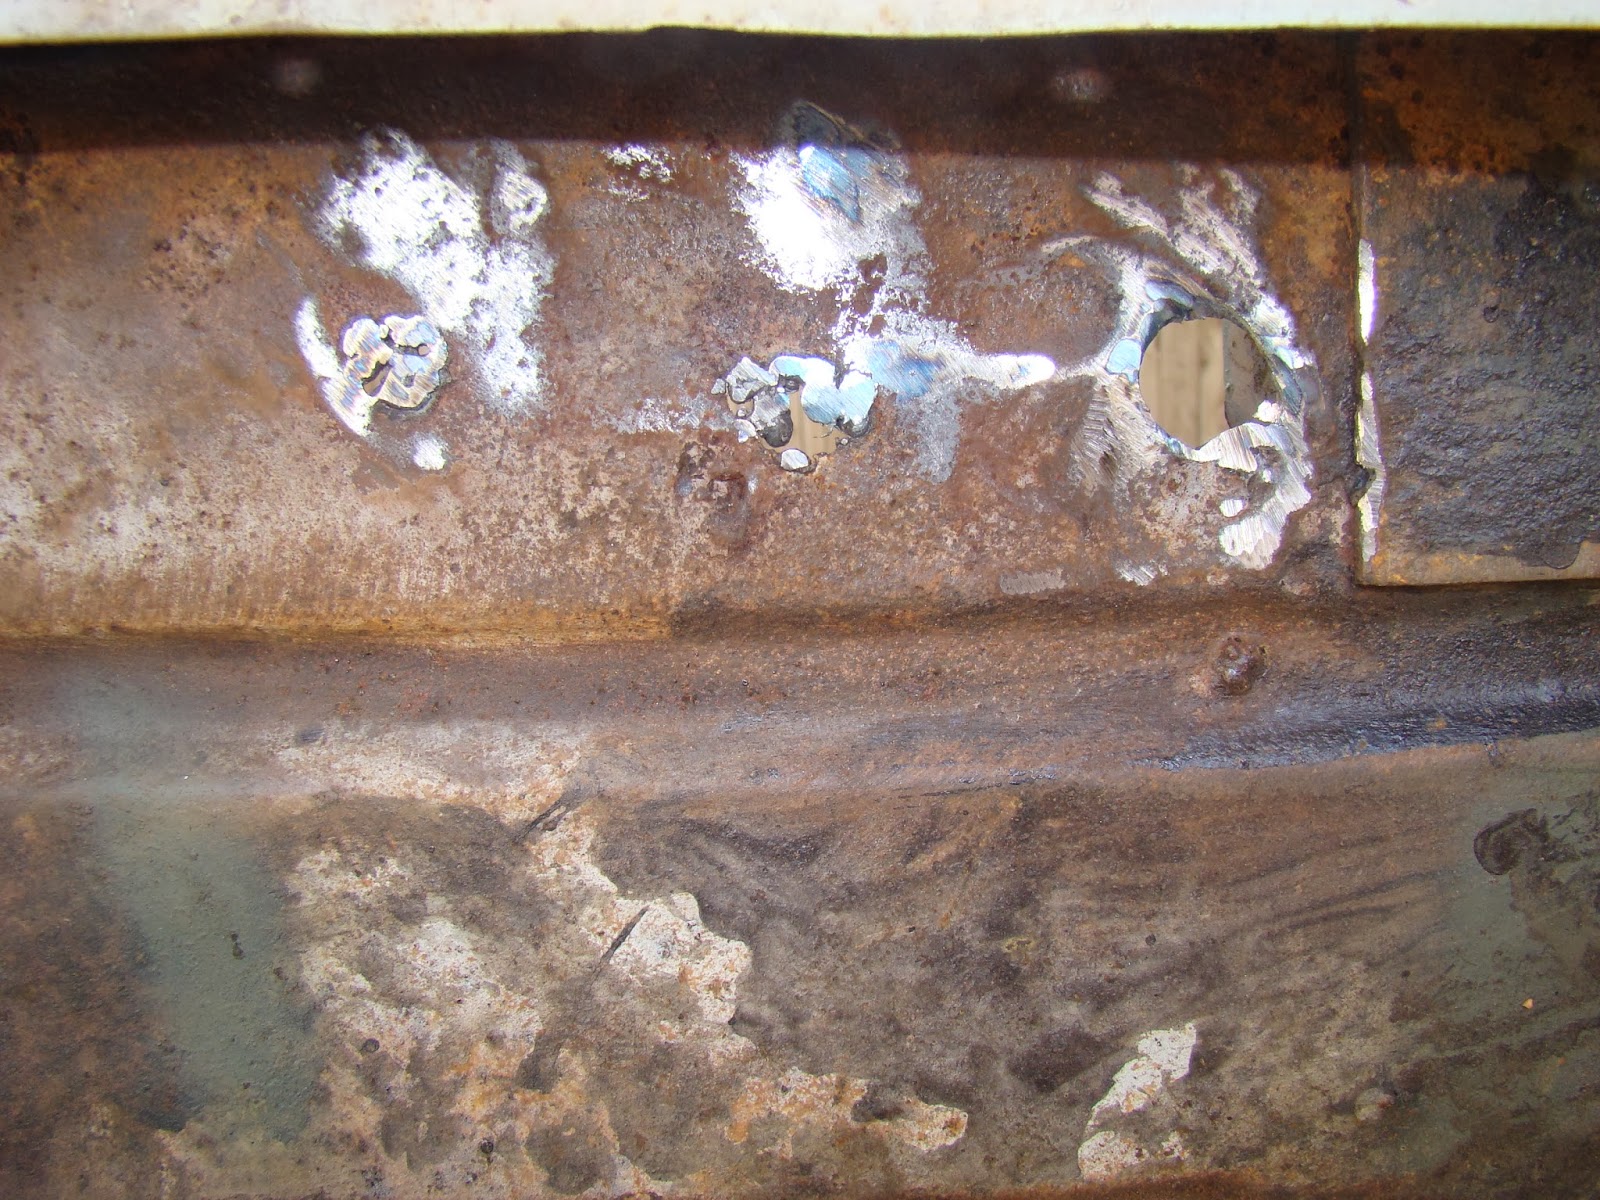
I scraped off what I could and then sanded the case smooth on some 320 grit paper placed on the flat surface top of my table saw. It's dead flat now.
This half was scraped cleaned with a chisel. Note the bearing underneath the helical gear. It will be the cause of some angst in a few steps.
New gasket, held in place with RTV.
RTV on the other side, as well.
Back together.
Just a hint of squeeze-out, which I have come to expect from my woodworking hobby.
Hunting around in the main gear assembly that bolts to the T90's output shaft, I pulled these rings. Didn't find what I was looking for (a way to access a small part that has an O-ring on it), so I put it all back together.
Installing the planetary gear unit.
Bolted to the transmission output shaft. The trick for installing the unit, as many have written in more detail elsewhere, is to use a 1/2" socket extension and torque the bolt to 100-120 ft-lbs. I did 110 and moved on.
The star washer on the end of a 3/8" socket extension. I put some assembly lube on it to help it stay in place while I tried to install the star snap ring.
Stuck in place.
Some needle-nose pliers helped get this in. It took many attempts, but I got in and feel confident it will stay put. (I verified it was in its slot by trying to lift it up and by rotating it in that slot.)
The actual installation was problematic and actually spilled over into the next morning. If you recall, it took almost an hour to slide the overdrive unit off way back in the fall. It started to seem like it was going to be the same or worse, in reverse. The bearing on the drive unit itself didn't want to go more than a few millimeters into the overdrive's input shaft. I wasn't going to buy a new one, I wasn't going to hammer it in, and I wasn't going to go without the overdrive unit. So again, my woodworking background kicked in. Meet my sanding drum drill bit.
I used a variable speed drill with a secondary handle to hold it securely and work the hole as smoothly as possible. I'd do it for a few revolutions, clean out the dust, then check its fit. At first it'd go in about a 1/4", then a little more.
When I felt most confident in the fitment, I wiped everything with assembly lube and mounted it up.
Once it was in this close, I used a Q-tip to get some RTV on the gasket for a little extra adhesion and sealant.
New rubber locking washers to help seal the bolt holes, which pass through the overdrive unit into the transfer case where the oil is sloshing around, inviting leaks.
In place.
Torqued to 30 ft-lbs. and ready for its linkage, which will wait until the tub is on the chassis.