The last section of driver's firewall in need of serious--rather than minor--attention. I'm assuming it's for the steering column, so patching the hole is temporary. It's just weak right now, so a patch panel will help secure things.
A grinder and sawzall made quick work. I just had to watch the firewall/chassis support strut flange.A view from the inside with the edges cleaned for welding.
Same for the outside.
The panel is made of 16 gauge, and I deliberately cut it significantly oversized. First, I welded it securely on the left/bottom edge, including a bit from the inside. I was going to beat on it to get it to fit the firewall's contours, so it needed to hold still. I then used a benzene torch to heat up the section on the right in the pic below to make it more malleable. Once it changed color, I whacked it with my body hammer.
A closeup.
I cut a notch in the upper/right edge to mold it to the existing firewall shape. Then I hammered it in place and welded a bead.
All done. I welded it from the inside as well. Once it cooled, I hit it with some primer. As always, I'll grind it down later, but it'll have to be done before I bring the body inside. Perhaps tomorrow.
While all the gear was outside, I wanted to try out my copper "spoon" that I'll use to fill some of the smaller holes. On the passenger's side cowl, I saw a few holes that I don't think I'll need (we'll see), so I put a sanding disc on the grinder and cleaned the area. I discovered a few cracks between the holes. Clearly the metal is thin here.
These holes are above the right rear fender well. Not sure what they held, but I do know I won't need them. I ground them smooth and clean for welding. I tucked the copper spoon on the other side (welds don't stick to the copper), and then had at it.
As usual, I'm creating a pile of boogers to grind down later once the tub is inside and horizontal.
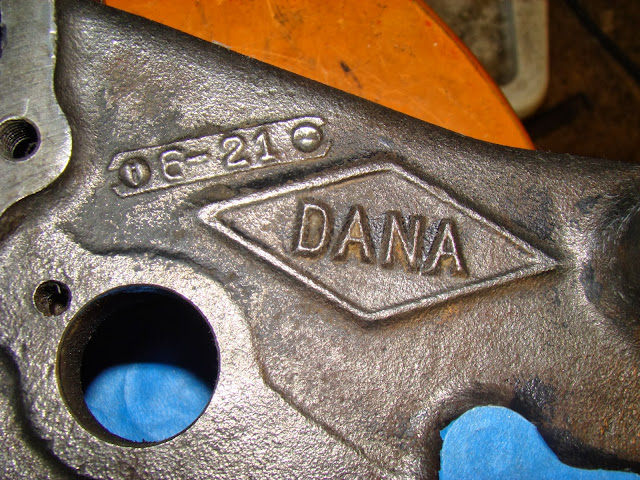
This is the drain pan to the Dana 18. I ran out of primer before I could get to it, so I had to wait a week. Here you can see the contrast between the grime on the side and the cleaned top/bottom. What a mess. The grinder with a wire brush cup makes the clean up easy.
Clean and ready for acetone.Wiped and dried. The only taping this little guy needed was to keep the threads for the drain plug paint free. I used 2" blue tape rolled into a cone and pulled through the hole until it's snug.
This is the rear output bearing cup. Note the small triangle of missing blue paint, hence the tape job. I had to wait a week before I could prime and paint over the engine enamel, which was fine.
Primed.
I just love this color. It must stem from the 64 1/2 Ford Mustang that my parents let me drive for several months during my last semester of high school.


